The M.X.
The M.X. stands for The Modern Experience.
Give your content a trendy new style with Google’s Material Design. The M.X. comes out of the box supporting many standard WordPress features, such as the Custom Header (renamed Hero Image), Custom Menus, full sized Featured Images and most of the Post Formats.
Don’t like a sidebar on every page? The default sidebar slides in on click when needed and out of view when not. In addition, The M.X. has support for Gutenberg, with full width post images and editor color palette.
General Features:
- Custom logo
- Custom menu with Pages menu if no custom menu is specified
- Full width Hero Image option for either every page or just the blog index
- Unobtrusive sliding sidebar on default, with options for right and left fixed sidebars (as of version 1.3)
- Single column content area
- Support for the Aside, Audio, Gallery, Image, Link, Quote and Video post formats
- Two page templates: Landing and Image Grid
- Based on the Underscores starter theme
- Compatible with the Block Editor
Customizer Features:
- Widget area for the hero image where you can customize the text color and alignment
- Six preset color schemes
- Custom color scheme with support for four Primary colors and three Accent colors
- Choices of four post area layouts for desktop: Centered (the default), Wide, Two by Two and Image Grid
- Choice between full content and excerpts for blog posts
- Enabling of Colorbox for galleries
- Option to show galleries as a slider on single posts
- With the Gallery post format chosen, you can limit the number of thumbnails shown in the blog index and pages*
- Animations on option to add pizzazz to your blog or website
* Not available for the Gallery block.
WooCommerce Features:
- Shopping cart icon in the header that leads to the Cart page
- Dedicated, separate sidebar to place WooCommerce widgets
- Option to display the sidebar on the left, right and/or only on the Single Product page
- Matching theme styles
Specifications
| Theme version: | 1.3 |
| Works with WordPress version: | 4.9+ |
| Tested in browsers: | Chromium (Linux- latest version), Firefox (Linux- latest version), Opera (Linux- latest version) |
| Questions/Fixes?: | Use contact form below |
| Portfolio/Contact: | www.jgpws.com/portfolio jasonatjasong-designs.com |
Media and Theme Preview
The video below explores many of the features of The M.X.
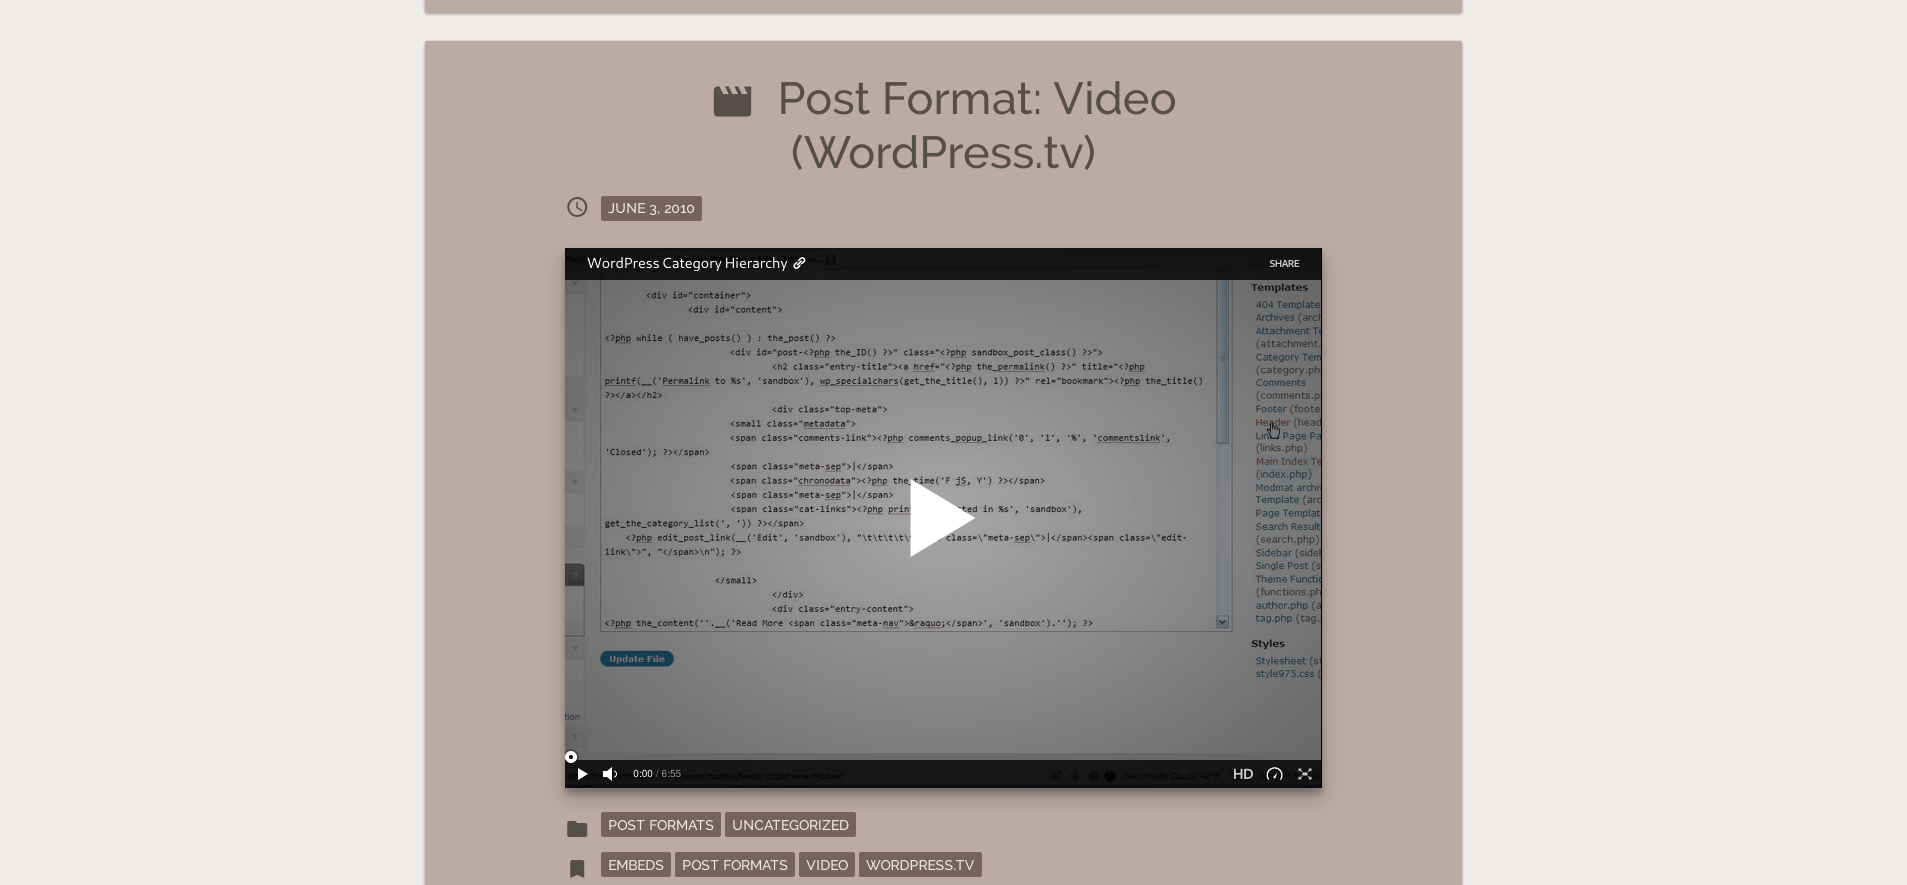


Note: In the preview Skrollr animations are active. However, Skrollr animations are turned off by default in the Customizer for faster loading. Excerpts are used in the preview, while full content is the default Customizer setting for posts. For more information, see the documentation below.
The M.X. Documentation
Most of The M.X.’s features are accessed through the WordPress Customizer. To get to the Customizer, mouseover or tap (in mobile) Appearance in the admin panel sidebar, then click or tap Customize. If The M.X. is not the active theme and you would still like to preview it in the Customizer, hover over (or tap in mobile) the theme’s tile and click or tap Live Preview.
This documentation explores customizations specific to The M.X. This theme supports most standard WordPress features out-of-the-box. Changes to the included Customizer sections and theme specific settings are documented below. For more information on the WordPress basic theme modifications, see the page Appearance Customize Screen in the WordPress Codex.
Featured Image Recommended Size
The only important part about one of the WordPress standard features is the Featured Image. The recommended image size that works best with this theme is at least 1920px wide. This image width will ensure coverage of the entire parent container.
Any image smaller than the parent container will show a background color behind the image.
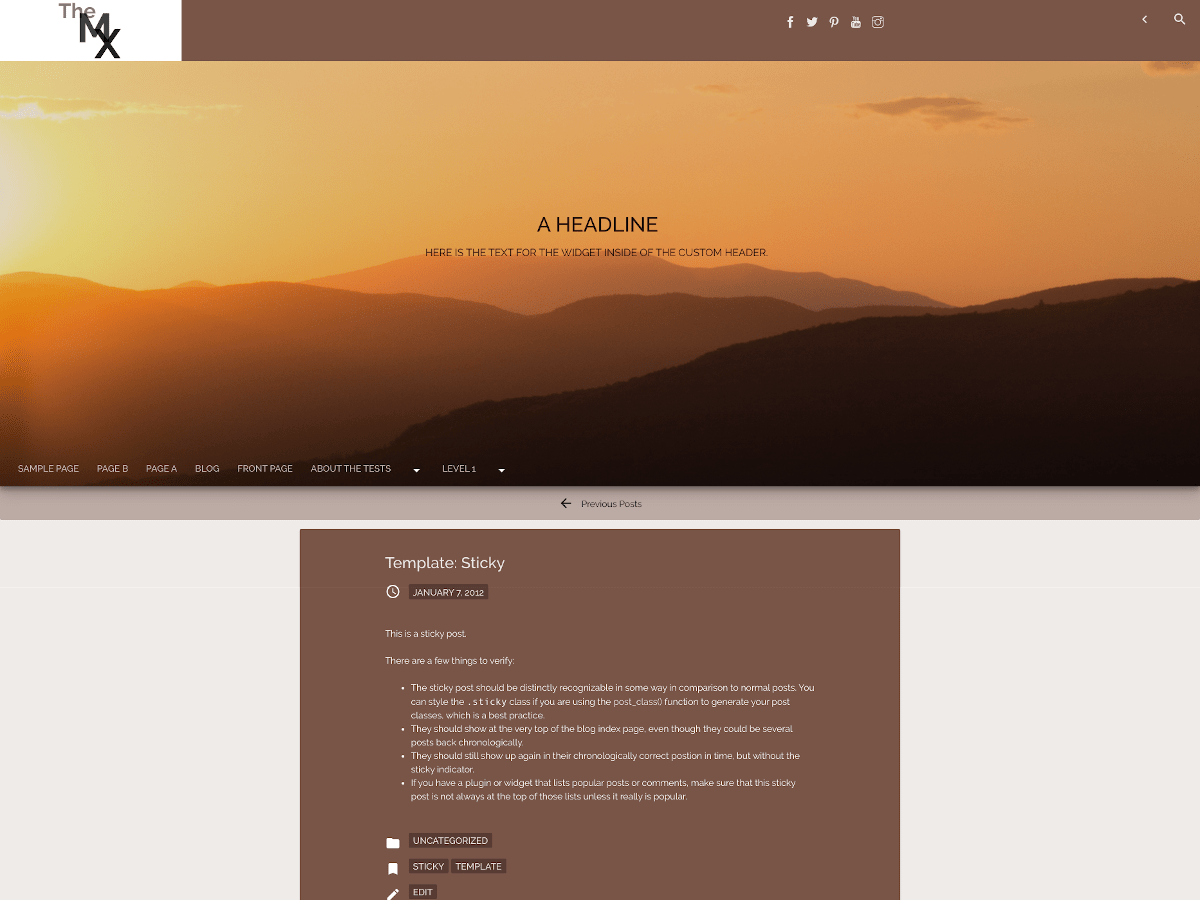
Hero Image (Header Image)
Since, in this theme, a custom header image is used as a large banner, I decided to rename this section to Hero Image. Simply upload a logo as described in Appearance Customize Screen.
The M.X. has an optional widget area that sits above the hero image, where you can add one or more widgets. An example would be to add a Text or Custom HTML widget to the specific widget area. While in the Customizer:
- Navigate to the Widgets section. In the current interface, click the left pointing arrow to leave the Hero Image section
- Under Widgets, click or tap Hero Image Widget
- Click Add a Widget
- After the widget is added, navigate back to the Hero Image section
The Hero Image section has two additional options:
- Choose hero image text color– Choose white text for a dark background image or black text against a light background
- Align the hero image text left, center or right
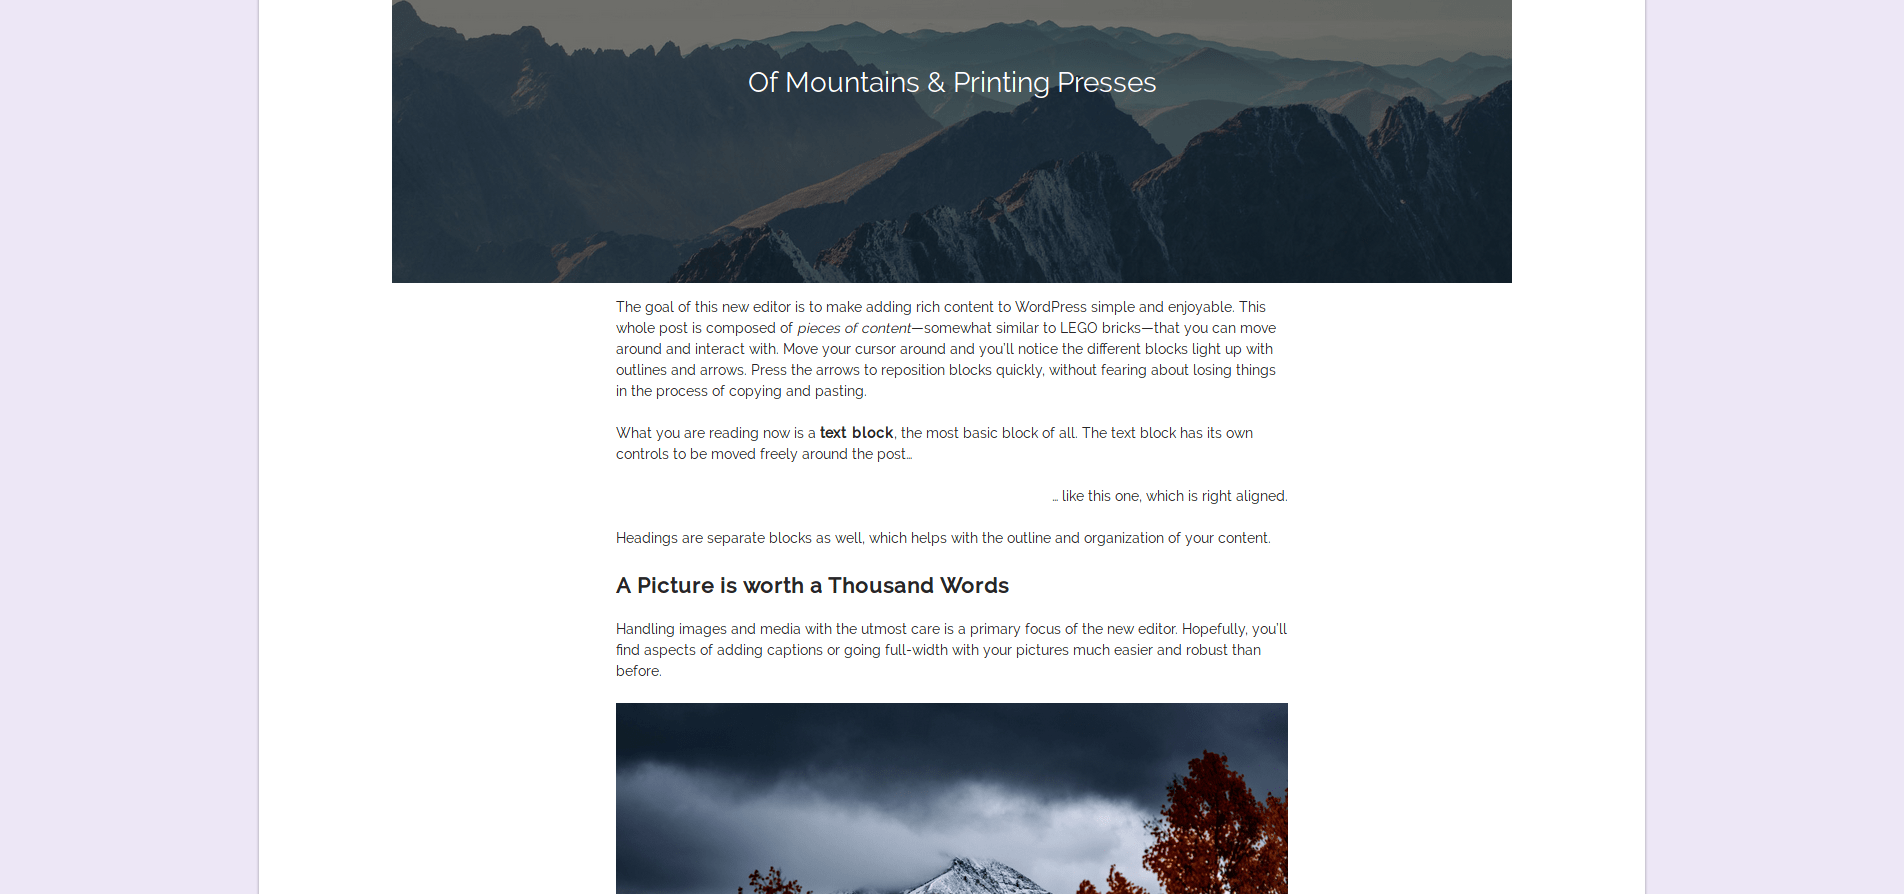
Use Blocks for the Header
The M.X. now offers the option to use blocks inside the the header.
In the Hero Image/Header section, click the Use Blocks/Pattern for the Header checkbox to enable.
For version 1.4.4 and below, see the post You Can Now Build a Header with The M.X.
Version 1.4.5 includes a Template Parts section in the Appearance menu, where you can access the header.
In both variations, you can replace the existing header with one of several included patterns. The following instructions are for the newest version, 1.4.5.
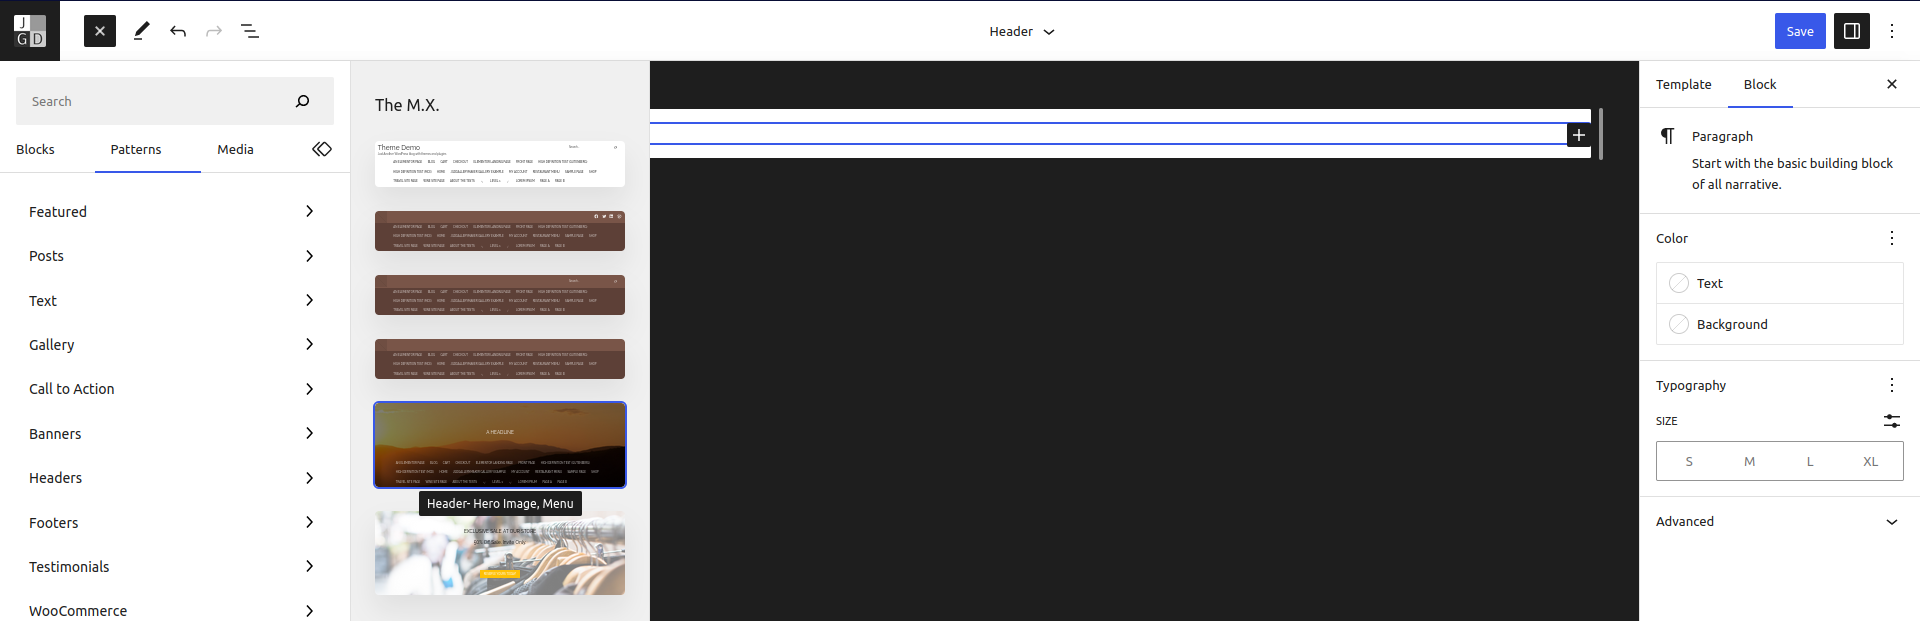
Go to the Template Parts section under Appearance.
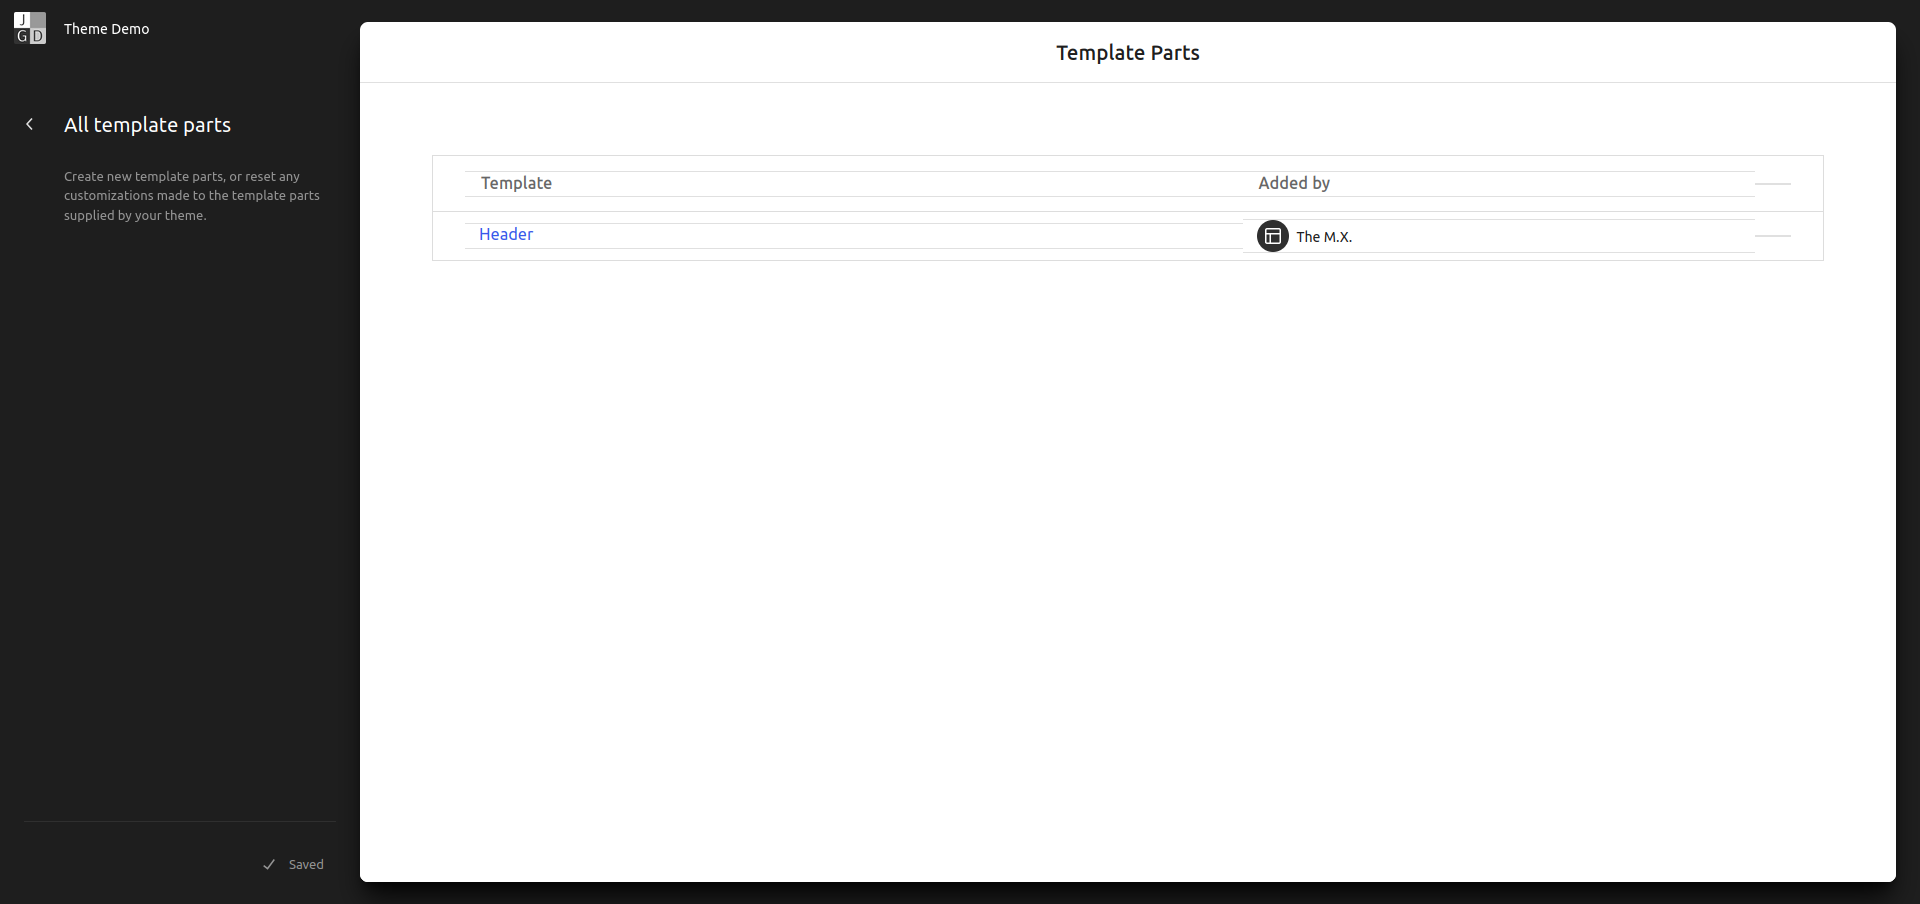
Click to go to Header.
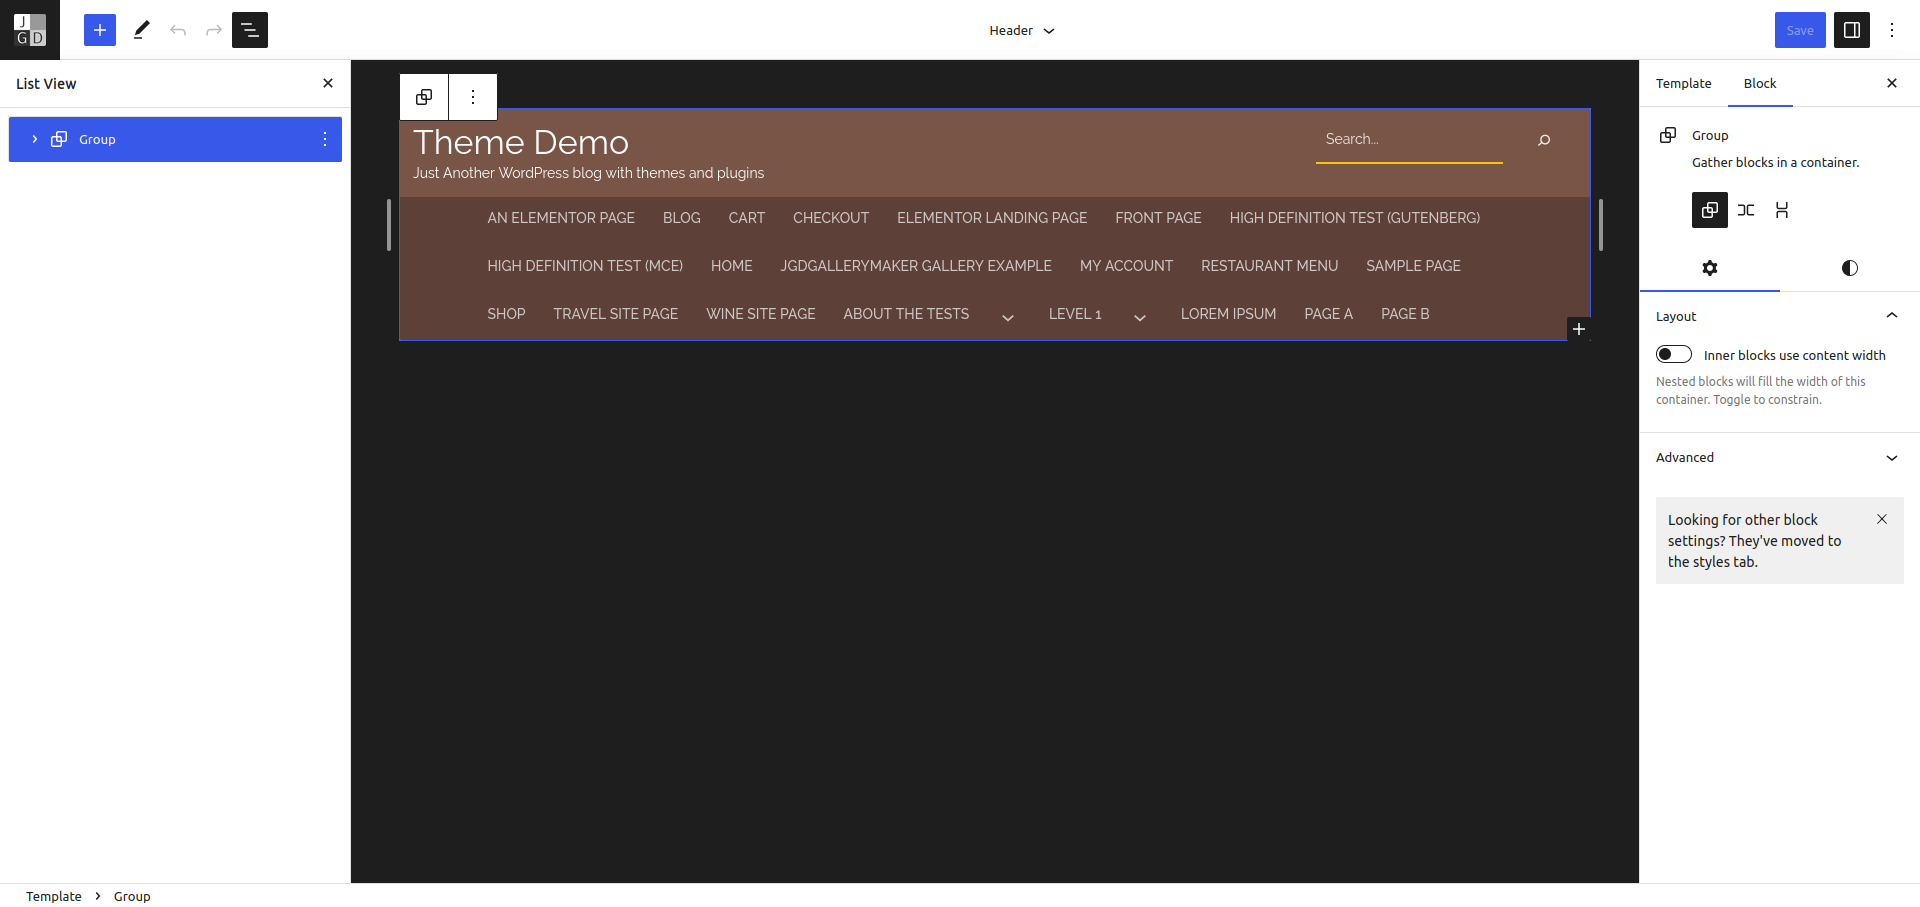
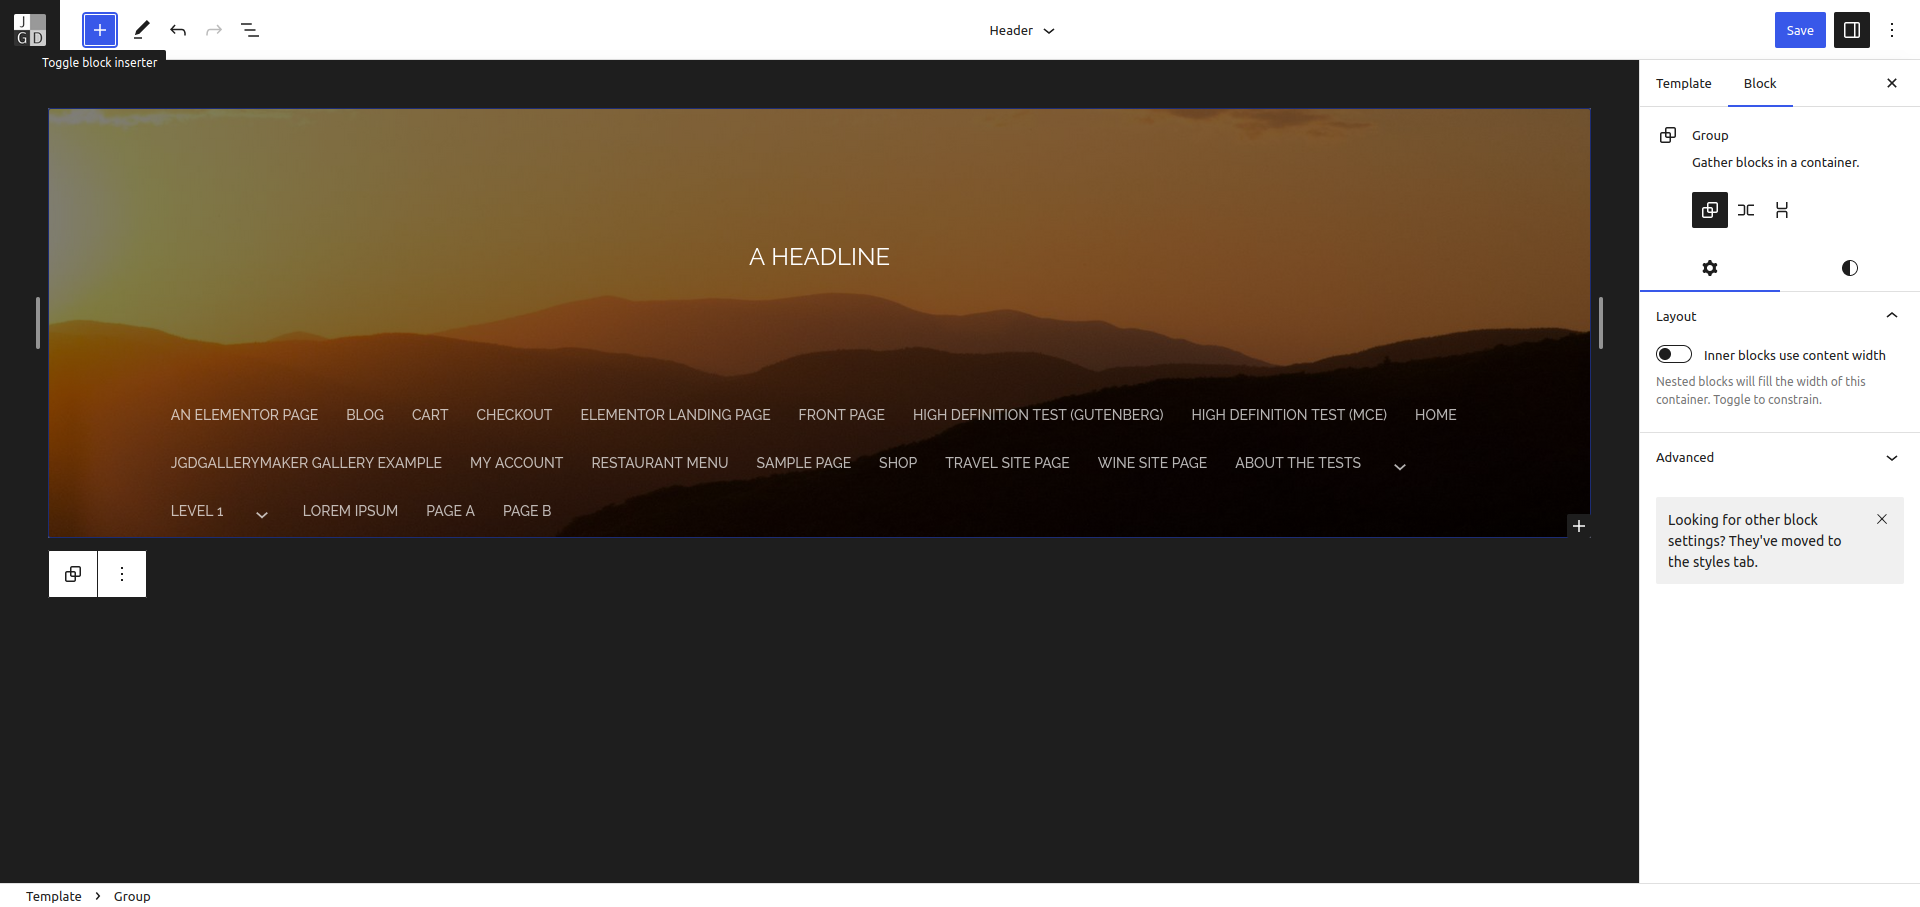
In the header, use List View to select the parent Group block.
Remove the Group.
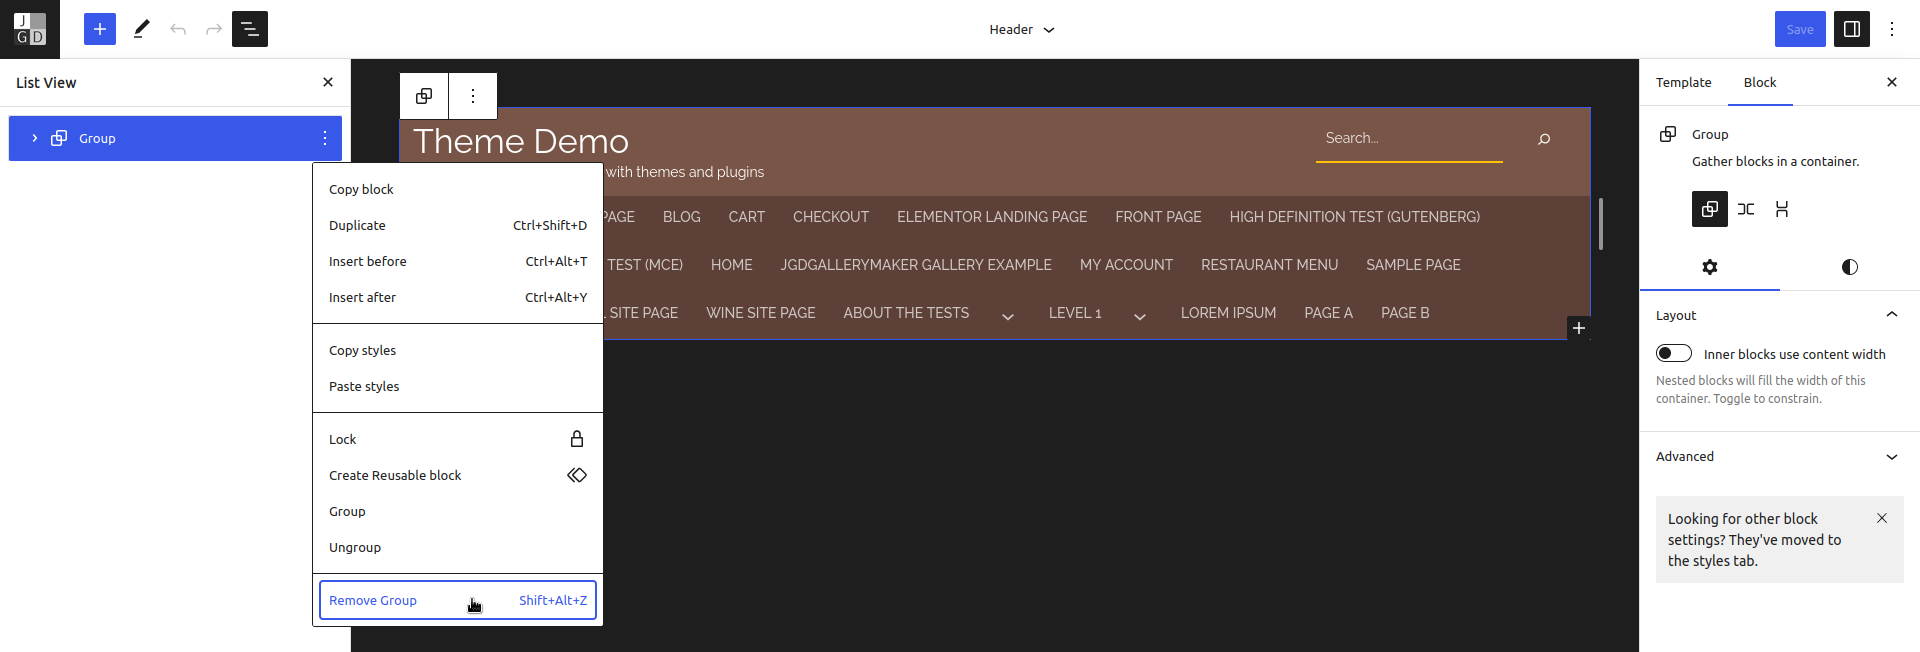
Click the Block Inserter button (with + sign), then go to the Patterns tab.
Under The M.X. sub section, click one of the options to replace the header layout
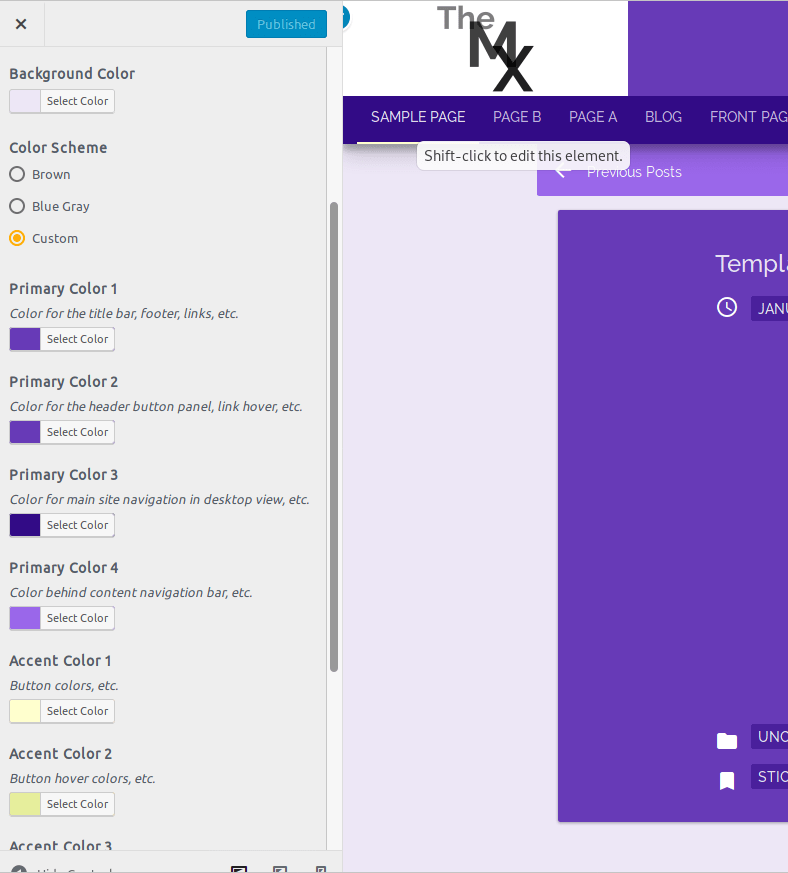
Color Schemes
Like the Hero Image section, the Colors section has been renamed to Color Schemes. In this section, you can set the Background Color, as usual. In The M.X. 1.2, you can choose between six color scheme presets:
- Default (Brown)
- Blue Gray
- Deep Purple
- Pale Orange
- Black
- White
Just like in previous versions, there is also a Custom option if you’d like to create your own color scheme.
When custom is chosen, Four new Primary Color and three Accent Color options appear. The four primary colors are best used as shades and tints of the same color, while the accent colors as shades and tints of a secondary color. More information on how to use color schemes for Material Design can be found on The color system page at material.io.
In addition, there are options to Reverse text against the background to white and Reverse supporting colors to black.
If you want to use an overall dark color scheme including background, you can specify to reverse the text to white.
Reverse the supporting colors to black if the overall colors chosen are all light.
* Note that reversing supporting colors to black is highly recommended for the Pale Orange or White color scheme.
Layout
The layout section offers a choice between four layout types for the post index page. These all apply to desktop views, with the Wide option applying to tablet views as well.
- Centered (default)- Posts are centered and stacked vertically with plenty of margin space left and right
- Wide– Posts have a wider content area and narrower side margins
- Two by two– a grid of posts two by two across
- Image grid– A grid of tiles consisting only of an image and the post title. This layout looks best when a Featured Image is applied to each post
In addition, you can specify whether you want the Full Content or an Excerpt (some of the post’s text), to show on the post index page.
Gallery Settings
These settings are for when the Gallery post format is chosen.
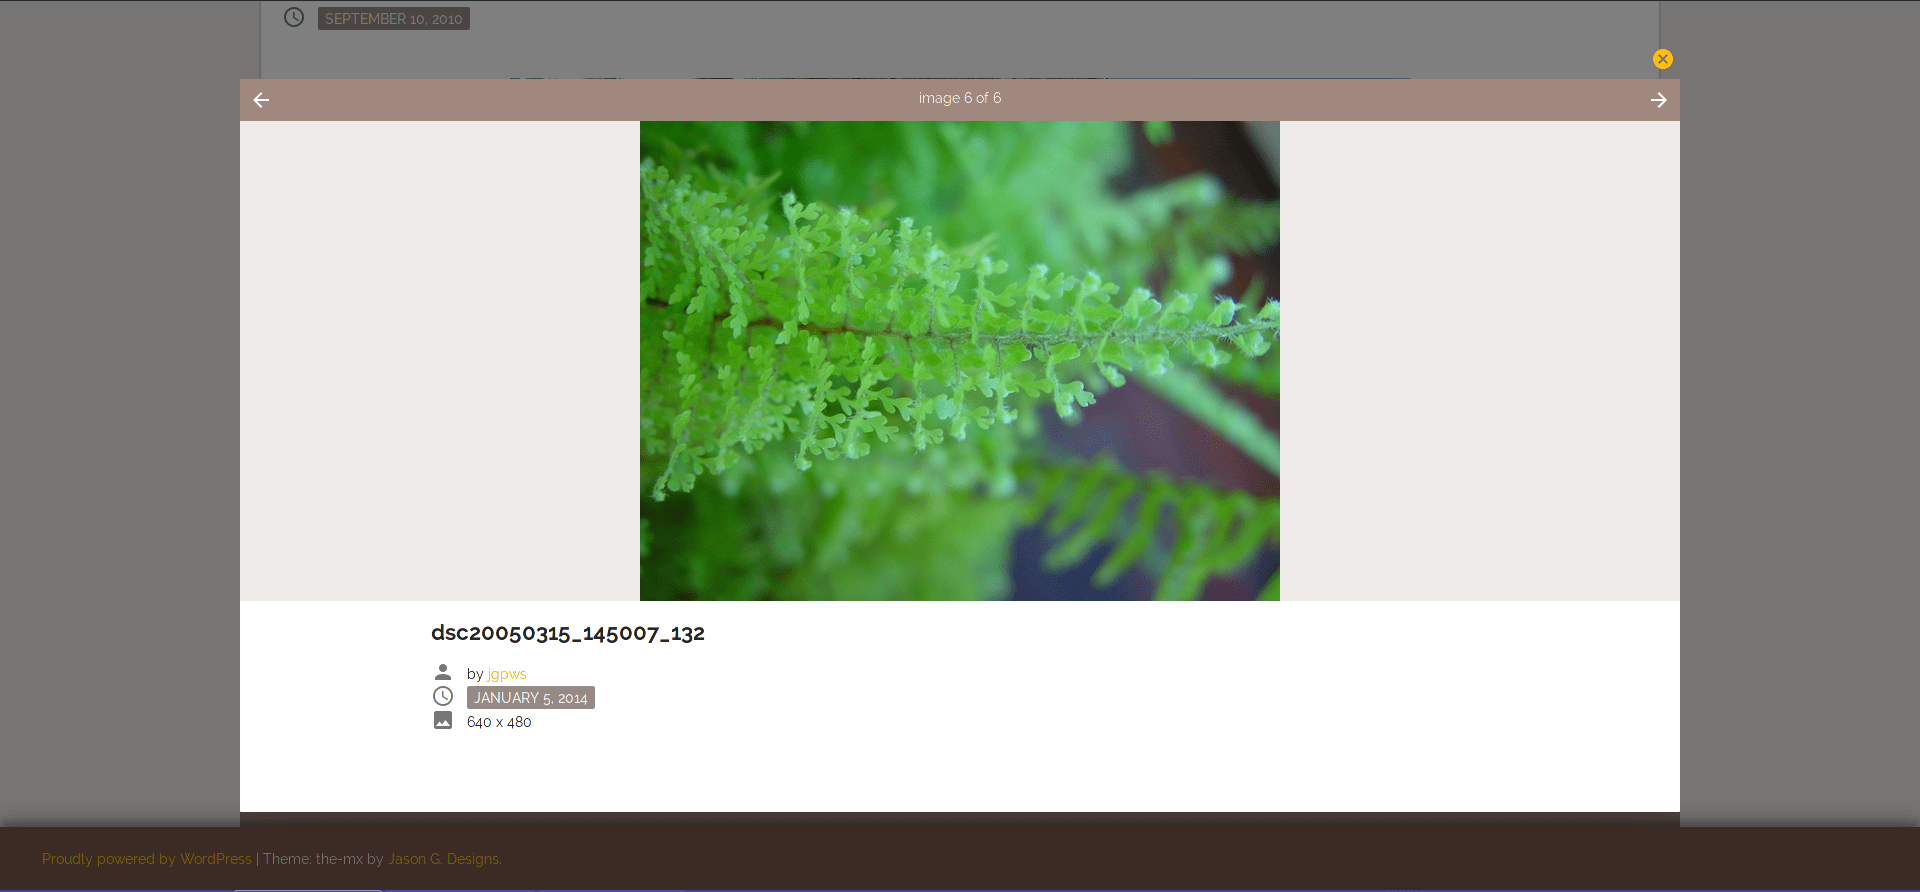
- Enable/disable Colorbox for the gallery displays the link attachment or image in a lightbox style popup
- Enable/disable the gallery to be shown as a slider on single posts shows each image on the single post as a “slideshow” with full sized images. This option adds slideshow controls to go to the next and previous slides, and a timed slideshow option. Colorbox is disabled on single posts when this option is chosen
- Change the column count changes the number of columns across from 1 to 9*
- Limit the number of gallery thumbnails on posts/pages does just that. When using the Gallery post format, this is done automatically with a default number of 6. This feature is useful if you just want to show the first few gallery images on the index page with the rest on the single post page. A More Images button is added beneath the gallery that links to the single page*
* For non block galleries.
Animation
The animation section offers two options.
- Enable animations on scroll, including fade-in of gallery images (with skrollr.js) on the blog homepage– Animations such as fading/sliding in post elements, title animations for post formats and gallery thumbnails fades are used to add a little visual interest
- Enable simple animations with animate.css and CSS3-This feature adds fade in animations to the primary menu, slide-in effects for the sidebar and search form and subtle transitions
Page Templates
The M.X. includes two page templates. To apply a page template select a template under the Page Attributes setting.
Landing Page displays the content under a thin header with just the title and optional social media links (documented later). The header also disappears when scrolling down. No sidebar or comments are displayed.
The Image Grid Page template displays the content followed by an image grid of posts, similar to the image grid blog post layout. When any page is displayed, the Page Template Customizations section appears in the Customizer. In this section you can access settings that apply to the Image Grid template. The settings are:
- Choose a category of posts to display on the Image Grid page– This presents a dropdown list of all of your post categories. Choosing one will display posts limited to the chosen category on the page
- Choose the number of posts to show– This lets you limit the number of posts up to nine posts. The default is all posts
- More posts– This checkbox adds a button with the label More Posts under the post tiles
- Change the title of the More Posts button– Lets you change the label to something else
Social Media Icons
The M.X. includes support for social media “badges”– icons that link to your social media accounts. In the Customizer:
- Go to Menus
- Create New Menu. You can name it something like Social Media Icons
- Assign the new menu to the Social Profiles menu location
- Click Add Items
- Add Custom Links.
- When a custom link with a top level domain (such as facebook.com) is used as a custom link, an icon will show up in the header
On mobile widths, the social media icons show up under a dropdown menu (the icon with two people side-by-side). In desktop widths, the icons show up toward the top middle of the header.
WooCommerce Features
When WooCommerce is activated, The M.X. adds new options to the Customizer.
- Separate Sidebar– Clicking the Enable a separate sidebar for WooCommerce shop/product page checkbox adds a sidebar for WooCommerce shop pages
- Clicking the checkbox also reveals options to place the sidebar on the left or right sides and the option to show only on single product pages
Jetpack Add-ons
The M.X. also offers other features when the Jetpack plugin is installed and activated.
- Responsive Videos– Make videos scale within their parent containers
- Infinite Scroll– Turns your blog posts index into a single page by automatically loading new posts when scrolled to the bottom. See the Infinite Scroll support page for how to enable it
Changelog
Please see the theme’s commit log page on GitHub, which mirrors the official changelog.