How To Concatenate Conditionally Loaded Scripts in WordPress with Gulp
Introduction
I was going to do a formal announcement that The M.X. was going to use Gulp to manage the theme, but I might as well mention it as part of this tutorial. So, while working on this update, I was trying to figure out how to concatenate conditionally loaded JavaScript files together– specifically scripts that load as a result of turning “on” a feature in the Customizer. In this tutorial, I will describe how I did this task and why it may be useful if your theme design is set up a certain way.
Why Concatenate?
Concatenating files, which is combining separate files into one, reduces http requests when a page is loading. Excessive http requests can slow down web page loading. Thus, the need is to combine our separately loaded files.
It should be noted that browsers will support the new HTTP/2 protocol in the future. Therefore, concatenating one large file under the new protocol will be less efficient, since HTTP/2 will significantly speed up the page loading process. The article The Right Way to Bundle Your Assets for Faster Sites over HTTP/2 explains how it works. Under the new protocol you could still concatenate and minify smaller bundled files.
In this tutorial, however, we will be doing one script bundle, our main scripts.
Getting Started
This tutorial requires WordPress- preferably a local setup, NodeJS and the Node Package Manager (NPM), and Gulp. Browsing Google, I found some resources:
- WordPress Local Development For Beginners: From Setup To Deployment
- Get NPM — General installation
- Installing Node.js via package manager — Installing in Linux
Ideally, you will want to be working with or creating a WordPress theme that doesn’t already concatenate scripts or use Gulp and one that has scripts loaded from clicking a Customizer control.
I will use The M.X. as an example of how this process works.
Customizer Controls
Let’s say you are loading two external libraries. In this example, Colorbox and animate.css. Here, I won’t go into detail about how to setup the controls, but you can find more information in the WordPress Codex. In functions.php in my theme, the front end loading looked like the code below:
function the_mx_enqueue_scripts() {
    $mx_colorbox = get_theme_mod( 'the_mx_enable_colorbox', 0 );
    $mx_animate = get_theme_mod( ‘the_mx_animate’, 1 );
    ...
    if ( $mx_colorbox == 1 && shortcode_exists( 'gallery' ) ) {
        ...
        wp_enqueue_script( 'colorbox', get_template_directory_uri() . '/js/jquery.colorbox-min.js', array( 'jquery' ), '', false );
        wp_enqueue_script( 'the-mx-colorbox-main', get_template_directory_uri() . '/js/colorbox-main.js', array( 'colorbox' ), '', true );
    }
    ...
    if ( $mx_animate == 1 ) {
        wp_enqueue_style( 'animate', get_template_directory_uri() . '/css/animate.min.css', array(), '' );
        wp_enqueue_script( 'the-mx-animations', get_template_directory_uri() . '/js/animations.js', array( 'jquery' ), '', true );
            ...
    }
}
The problem can be seen right away at first glance– Each script adds a new request from the server, but these files need to be loaded under conditions. I will address which files should be loaded as-is, according to the way 3rd party scripts should be loaded in WordPress.
Filtering the Body and Post Classes
What we will eventually want to do is add the conditional code to our JavaScript files. In order to do that, we need to have something that the file can use to determine what state the Customizer control is in. We can do this by adding a class to the body tag when a Customizer control is “turned on”.
In functions.php or template-functions.php in the latest _s theme, you would add filters similar to the ones below:
function the_mx_body_classes( $classes ) {
    if( get_theme_mod( 'the_mx_enable_colorbox', 0 ) == 1 ) {
        $classes[] = 'colorbox';
    }
    if( get_theme_mod( 'the_mx_animate_css', 1 ) == 1 ) {
        $classes[] = 'animate';
    }
    return $classes;
}
add_filter( 'body_class', 'the_mx_body_classes' );

function the_mx_gallery_post_class( $classes ) {
    global $post;
    if( has_shortcode( $post->post_content, 'gallery' ) ) {
        $classes[] = 'has-gallery';
    }
    return $classes;
}
add_filter( 'post_class', 'the_mx_gallery_post_class' );
In your own theme, the theme slug and the libraries referenced will be different.
File Structure
The image below shows The M.X.’s file structure organization. For the theme, I separated my own files for external libraries into a source folder. You can put everything in one folder as well, as done in _s. This brings me to the next point.
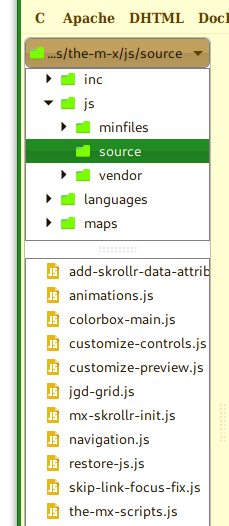
In the WordPress.org theme review for The M.X., my reviewers stated that I should not prefix third party scripts (no theme slug in front). After further research, I found it was so that two copies of the same script with different handler titles would not be loaded more than once. So, knowing that, if I took the vendor provided scripts, concatenated and minified them with my own scripts, then there would be no way to avoid double loading. So here, we are only focusing on library associated scripts. Unfortunately, with this process we can’t avoid extra http requests for the library files themselves.
Add Conditional Statements to Our JavaScripts
The way we can solve the issue is by adding conditions in our JavaScript files. To do this, we wrap conditional statements around our function calls or the code itself, as shown in the truncated code below:
animations.js
/* jQuery script to control animate.css */

( function( $ ) {
...
    function animateSearchbar() {
        ...
    }
    function animateMenu() {
        ...
    }
    ...
    if ( $( 'body' ).hasClass( 'animate' ) ) {
        animateSearchbar();
        animateMenu();
     ...
    }
}
colorbox-main.js
/* Scripts to work with Colorbox */
/* see http://www.jacklmoore.com/colorbox/ */

( function( $ ) {
...
    if ( $( 'body' ).hasClass( 'colorbox' ) && $( 'article' ).hasClass( 'has-gallery' ) ) {
        // Code that adds Colorbox to anchor tags
    }
}
The scripts are dependent on the classes being added to the body, making them not dependent on the if statements in functions.php, since the classes are tied to the Customizer controls. Now, in functions.php, the surrounding conditions can be removed.
function the_mx_enqueue_scripts() {
    $mx_colorbox = get_theme_mod( 'the_mx_enable_colorbox', 0 );
    $mx_animate = get_theme_mod( ‘the_mx_animate’, 1 );
    ...
    wp_enqueue_script( 'the-mx-colorbox-main', get_template_directory_uri() . '/js/colorbox-main.js', array( 'colorbox' ), '', true );
    wp_enqueue_script( 'the-mx-animations', get_template_directory_uri() . '/js/animations.js', array( 'jquery' ), '', true );
    if ( $mx_colorbox == 1 && shortcode_exists( 'gallery' ) ) {
    ...
        wp_enqueue_script( 'colorbox', get_template_directory_uri() . '/js/jquery.colorbox-min.js', array( 'jquery' ), '', false );
    }
    ...
    if ( $mx_animate == 1 ) {
        wp_enqueue_style( 'animate', get_template_directory_uri() . '/css/animate.min.css', array(), '' );
    ...
    }
}
You can test this out by moving the scripts outside of the conditional statements, leaving the library files only. Then turn off the scripts in the Customizer. You should not get any errors in your browser’s console after doing so. That means these files are eligible to be consolidated with other files.
Create Concatenation Task in Gulp
To use Gulp, we must first create a file to store our Gulp commands. We will be using the latest version, Gulp 4. At the root folder for your theme, create a gulpfile.js file. If you did not already have a Gulp file, these instructions will get you started.
Assuming Gulp is already installed globally and locally, install all of the tools we will be using at the command line.
npm install gulp-concat gulp-uglify –save-dev
At the top of the file, include the plugins under a variable.
const concatJS = require('gulp-concat');
const uglify = require('gulp-uglify');
First, let’s set up a variable that holds all of the files we want to combine. If you have any other scripts created as part of your theme, you can add them to this variable.
For an example, let’s combine with the scripts that an underscores based theme includes:
const jsFiles = [
    './js/source/navigation.js',
    './js/source/skip-link-focus-fix.js',
    './js/source/animations.js',
    './js/source/colorbox-main.js',
    ...
];
If all of your files are in the js folder, you can omit the /source part of the path.
The next part is to create the task that will concatenate and minify:
function scripts() {
    return gulp.src(jsFiles)
    .pipe(concatJS('scripts.min.js'))
    .pipe(uglify())
    .pipe(gulp.dest('./js/minfiles'));
    //.pipe(gulp.dest('./js'));
}
Piping with the .pipe function runs one plugin task after another in sequence. In this case, we are taking our original files in the folders specified in our jsFiles variable, concatenating them into a file named scripts.min.js, minifying with uglify, then saving to our final location (a /js folder).
The final step is to export your task so Gulp can run it:
exports.scripts = scripts;
Every time you make a new change to any of the files to be concatenated (source files), you can run gulp scripts from the command line. You can also set up a watch task to update every time you save one of the files. Make sure to write the task similar to the scripts task above for Gulp 4.
Adjust functions.php
Your functions.php file will no longer point to each individual file, so now you can remove each link to individual scripts and only link to your concatenated script instead:
function the_mx_enqueue_scripts() {
    $mx_colorbox = get_theme_mod( 'the_mx_enable_colorbox', 0 );
    $mx_animate = get_theme_mod( ‘the_mx_animate’, 1 );
    ...
    wp_enqueue_script( 'the-mx-colorbox-main', get_template_directory_uri() . '/js/colorbox-main.js', array( 'colorbox' ), '', true );
    wp_enqueue_script( 'the-mx-animations', get_template_directory_uri() . '/js/animations.js', array( 'jquery' ), '', true );
    wp_enqueue_script( ‘the-mx-scripts’, get_template_directory_uri() . ‘/js/minfiles/scripts.min.js’, array( ‘jquery’ ), ‘’, true );

    if ( $mx_colorbox == 1 && shortcode_exists( 'gallery' ) ) {
        ...
        wp_enqueue_script( 'colorbox', get_template_directory_uri() . '/js/jquery.colorbox-min.js', array( 'jquery' ), '', false );
    }
    ...
    if ( $mx_animate == 1 ) {
        wp_enqueue_style( 'animate', get_template_directory_uri() . '/css/animate.min.css', array(), '' );
    }
}
Since some of the scripts have jQuery code, we made this script dependent on jQuery; in other words, loaded after jQuery. We also put the script in the footer.
Conclusion
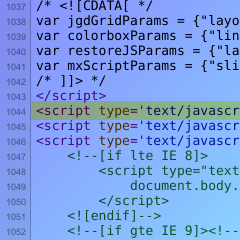
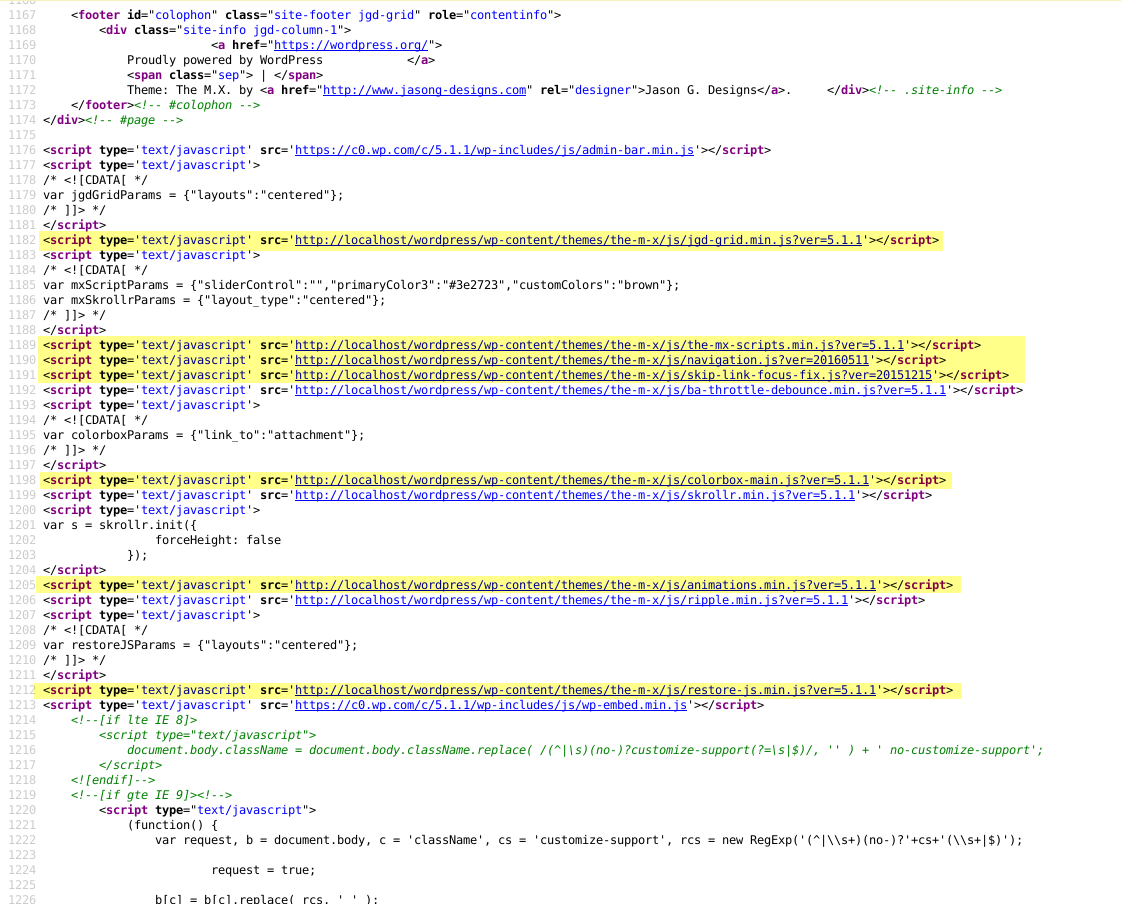
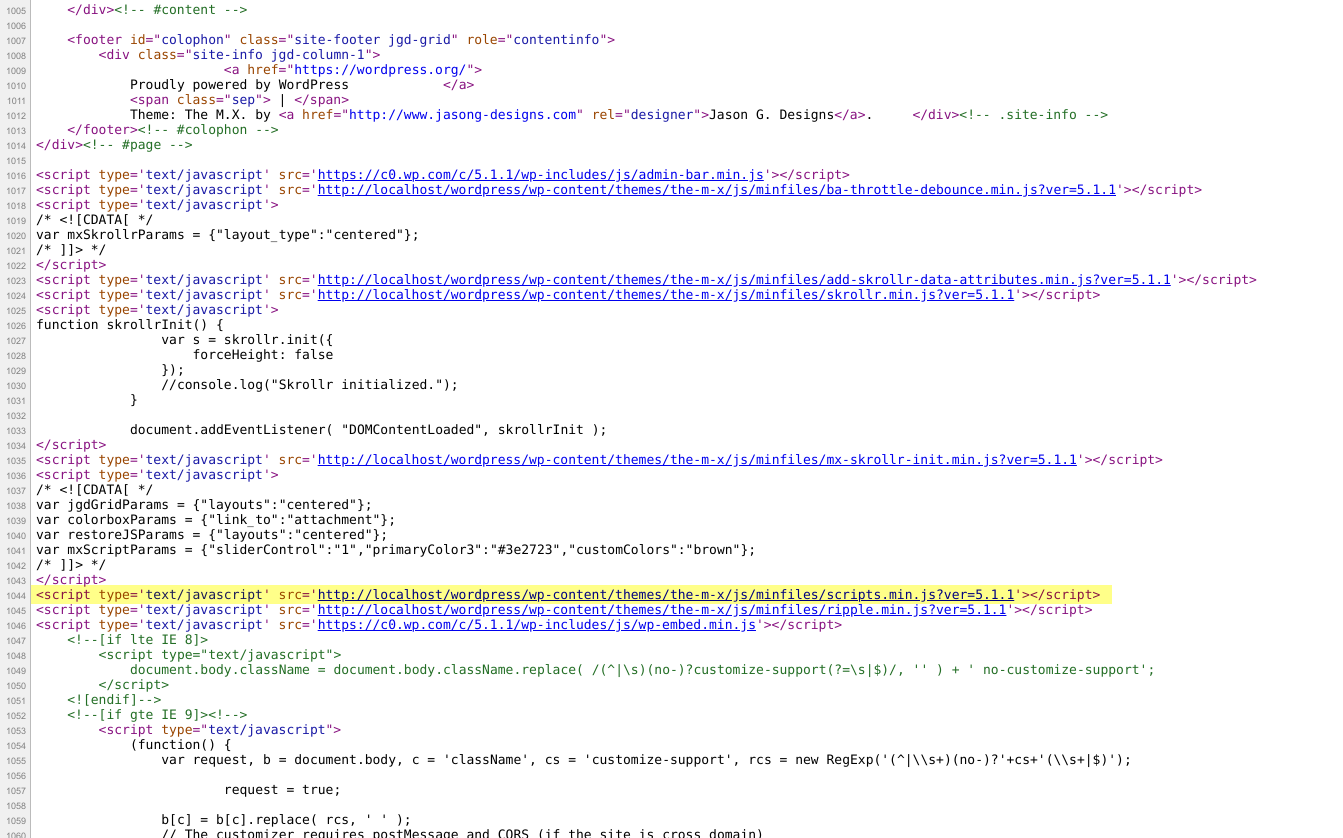
Alternatively, you can concatenate scripts based on their functions as well, like one set for animations, another for adding page elements, etc. This method can cut down on http requests while preserving your conditionally loaded scripts. The screenshots below show a before and after for The M.X. from View Source.
Thanks for reading or following this tutorial. If you have any questions or comments about this process, please leave them in the comments section.
Leave a Reply