Automating WordPress Theme Updates with Gulp

Recently, I was making some small changes to the look and feel of this website’s WordPress theme. But, even after exploring Gulp I was still using an older method for updating. Updating this website meant a tedious process.
- Using an already existing Sass compiler to compile to CSS
- Uploading each file to the live website, which involved keeping track of each edited file and, in the case of Sass, remembering to upload the changed main CSS file as well
- Also, upload any non Sass files too
- In addition, some of the text editors I was using were leaving several backup files around, cluttering things
This method worked for when I wanted to make small changes, but quickly became inefficient when making larger changes. I decided to enlist the help of Gulp to automate the task of file updates. I will describe this process including some screenshots and code for reference.
Information on how to install Gulp and get it setup is on gulpjs.com.
Setting Up
Let’s assume that you already have a working theme that doesn’t already use Gulp. If your theme already uses Gulp, you can skip this section.
First, we will need nodejs and npm, as Gulp runs on top of these technologies. Check out the Get npm! Page for more information.
We want to be in the root folder of the project that Gulp will manage. It is here where we will run the following commands in a terminal:
npm init
This command sets up a package.json file. With this file, if you were to share the project folder with anyone else, they can simply run the command npm install and it will install all of the needed dependency files for your project.
Next, install gulp in the main directory:
npm install –save-dev gulp
After that, we create a file, gulpfile.js, to house our tasks. At the top of the file we must require Gulp in order to use the variable gulp, which refers to the gulp library.
const gulp = require('gulp');
Copying our Theme Files and Folders
You may already have a process for your project. For instance, you may or may not be using Sass. Our main point for this tutorial is to copy any existing files of certain types and place them into a folder suitable for uploading to WordPress’s admin panel. The following tasks copy certain file types, and only those, to a new dist (distribution) folder.
I will be using this site’s theme as an example. The screenshot below shows my theme’s folder structure.
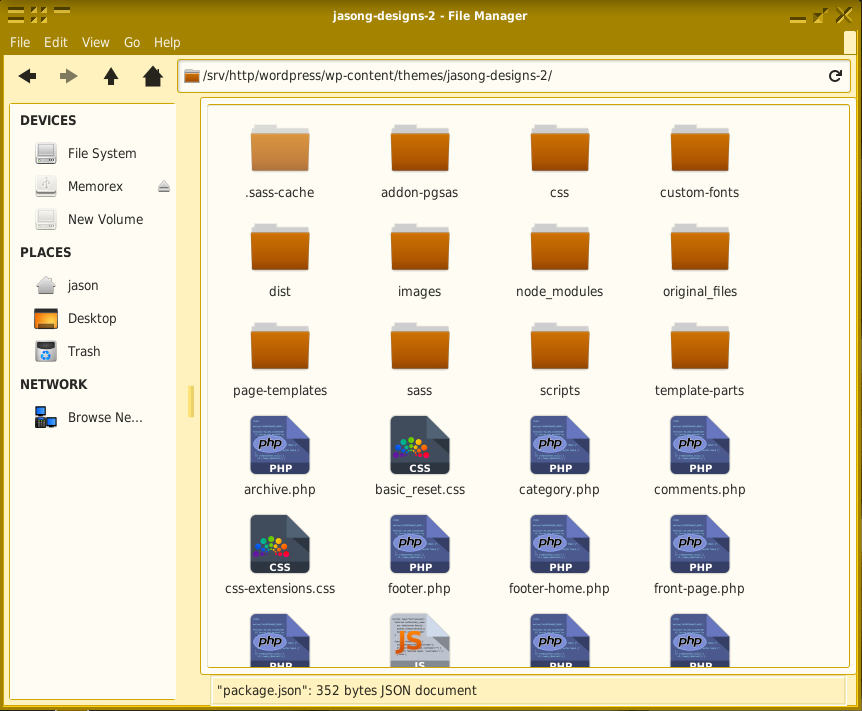
In our dist folder, we will want to include all .php, .css and .js files, but we don’t need files like the gulpfile.js file or folders like .sass-cache, so we will use a series of functions to copy only what we need.
Our first task copies .php and .css files from the top level directory to the new dist folder:
Copying the Main Files
function copyMainFiles(done) {
    gulp.src([
        './*.php',
        '!./dist/*.php',
        './*.css',
        '!./dist/*.css'
    ])
        .pipe(gulp.dest('./dist'));
    done();
}
The first part of the source files refers to all file types that end in .php or .css using the wildcard selector. The second part negates the selection to not copy to the dist folder when updating.
When creating the copy tasks, it is a good idea to look over your project’s folder structure to see how the files are situated. In my theme, my css folder is one level deep, so the following task will copy everything in this folder:
Copying CSS Folder
function copyCSSFolder(done) {
    gulp.src('./css/*.css')
        .pipe(gulp.dest('./dist/css'));
    done();
}
The next folder has sub folders, so we can copy with the task below:
Copying Fonts Folder
function copyFontsFolder(done) {
    gulp.src('./custom-fonts/**/*')
        .pipe(gulp.dest('./dist/custom-fonts'));
    done();
}
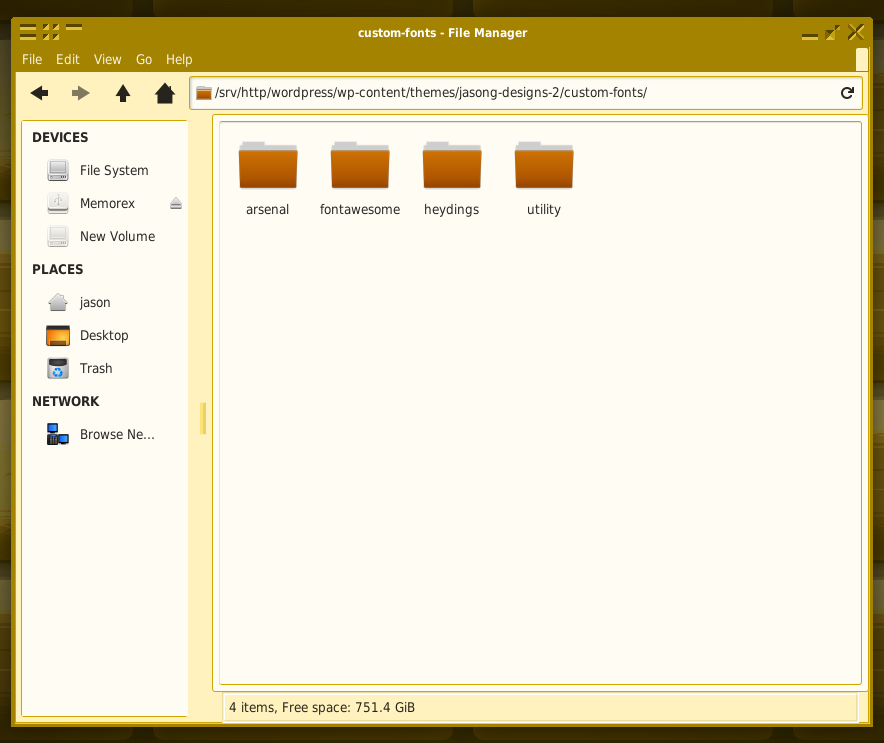
In the copyFontsFolder task, we are referencing the custom-fonts folder, as well as everything in the sub folders. The source refers to font files used with embedded fonts. Since we have no need to change these files, we can source them without a file extension.
Just using these three examples, we can now set up the export functions that Gulp 4 uses to recognize tasks. We will also introduce the new series concept.
At the top of the file, beneath the require statements, let’s add a variable for Gulp to use series and parallel:
const { series } = require('gulp');
const { parallel } = require('gulp');
Now we can use the series and parallel functions without prepending gulp in front.
Next, we are going to run each of the above tasks, one after another, in a series. Then we will assign that series to exports.copyFiles—a variable.
exports.copyFiles = series(copyMainFiles, copyCSSFolder, copyFontsFolder);
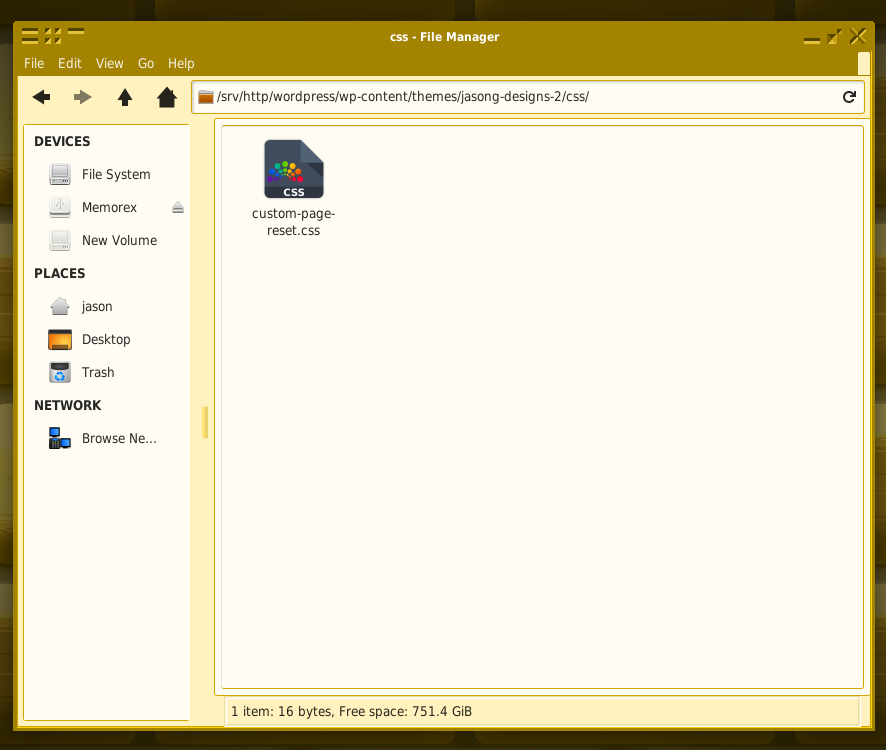
So far, this gives you a good idea of how to copy over file and folder structures from one location to another. Using a similar process, you can copy over the rest of the folders and files for your theme. The good thing with this process is that you leave behind pesky backup files, Windows thumbs.db files, etc. In the screenshot below, you can see some of the matching folders.
Cleaning Files before Copying
Now that we have a task for copying our files, when we copy subsequent files, we want to begin with a clean slate. That way, if we delete files or change the folder structure in our original theme files, they won’t still be there in our destination folder. We will set up a task to clear out the dist folder before copying.
In the command line, let’s download del from npm:
npm install –save-dev del
Then require it in gulpfile.js:
const del = require(‘del’);
Next, we can set up the task to clean (delete all files from) the dist directory:
function clean() {
    return del('./dist/**/*');
}
Finally for this task, we add this function call to the beginning of our series, deleting files before they are re-copied:
exports.copyFiles = series(clean, copyMainFiles, copyCSSFolder, copyFontsFolder);
Compressing Files for WordPress
One good feature in the WordPress Appearance backend is the ability to upload zipped theme folders for easy installation. This task will create a zip file for this purpose, deleting all files again after creating the zip file.
At the command line, let’s install a plugin to do just that:
npm install –save-dev gulp-zip
And require again:
const zip = require('gulp-zip');
Create the zip task:
function zipUp() {
    return gulp.src('./dist/**/*')
        .pipe(zip('jasong-designs-2.zip'))
        .pipe(gulp.dest('./dist'));
}
We can next reuse the del plugin to clean the files again, but use negation to save the final zipped file.
function cleanAfterZip() {
    return del([
        './dist/**/*',
        '!./dist/jasong-designs-2.zip'
    ]);
}
A new export will complete the entire process:
exports.finishUp = series(zipUp, cleanAfterZip);
You can run each task with the following commands, in order:
gulp copyFiles
gulp finishUp
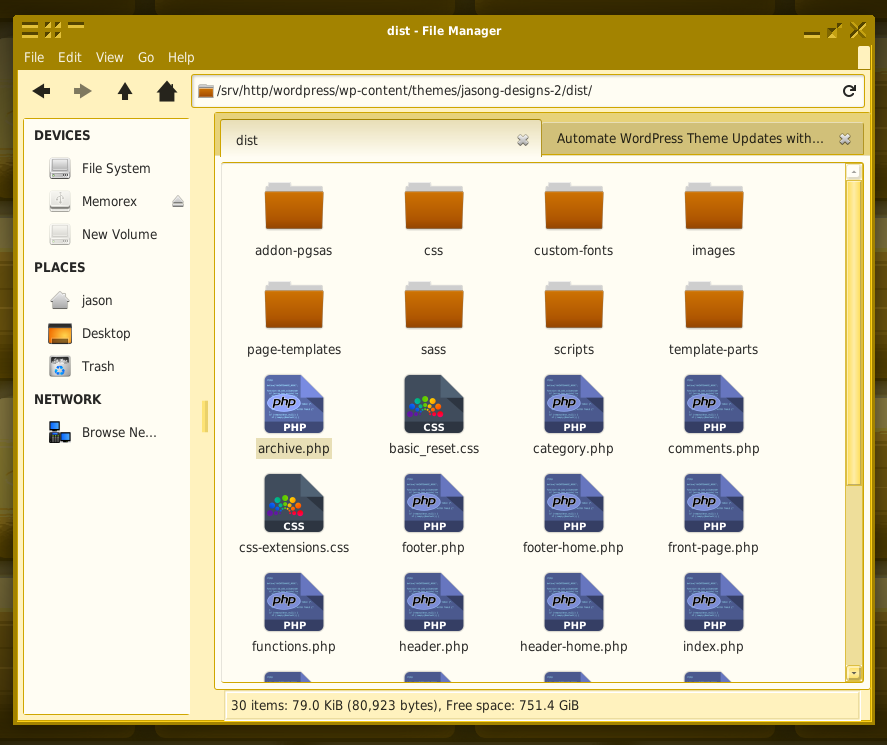
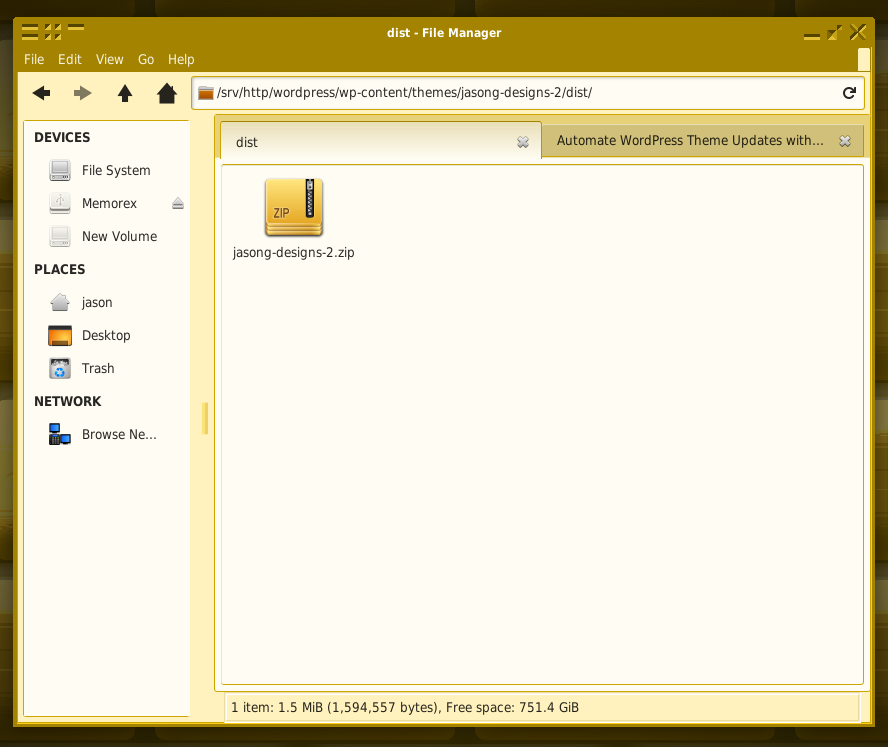
The screenshot below shows what the dist folder looks like after the process. And of course, you will want to name the zip file after your theme.
Conclusion
I have a secret; I actually haven’t used Gulp for any new updates on this theme yet. This was just implemented today. But I did use this method for The M.X.
The old method I was using was tedious and time consuming. Indeed, these few functions alone cut out significant extra effort for me. Would you use this method or might you have something that works better for your own purposes?
* Featured Image by Gerd Altmann from Pixabay.Trackbacks and Pingbacks
Trackback URL for this post: https://www.jasong-designs.com/2019/09/02/automating-wordpress-theme-updates-with-gulp/trackback/
[…] tutorial is a follow up to Automating WordPress Theme Updates with Gulp. In it, we explored how to set up and manage a theme with Gulp. As such, this tutorial assumes a […]