Video Tutorial- How to Move an Element Position Before and After with JavaScript
In this tutorial, we will take an unlimited number of similar elements on the page, and move one item ahead of or before the current one.
Video TransCript
A while back, I created jgdGalleryMaker, an online photo gallery service. It allows users to upload photos and rearrange them before copying and pasting them to a website.
This tutorial is not about jgdGalleryMaker, however. It is about replicating the code that ‘rearranges’ the (in this case) image tiles.
Stripping down the concept to it’s bare basics, we want to take an unlimited number of similar elements on the page, and move one item right ahead of or to the left before the currently selected item.
Setting Up
For those who want to follow along as I am explaining, I have set up a Tutorial Resources page on GitHub that has the index file, a CSS file, an empty main.js file and a main-js.txt file you can copy and paste from.
Step 1
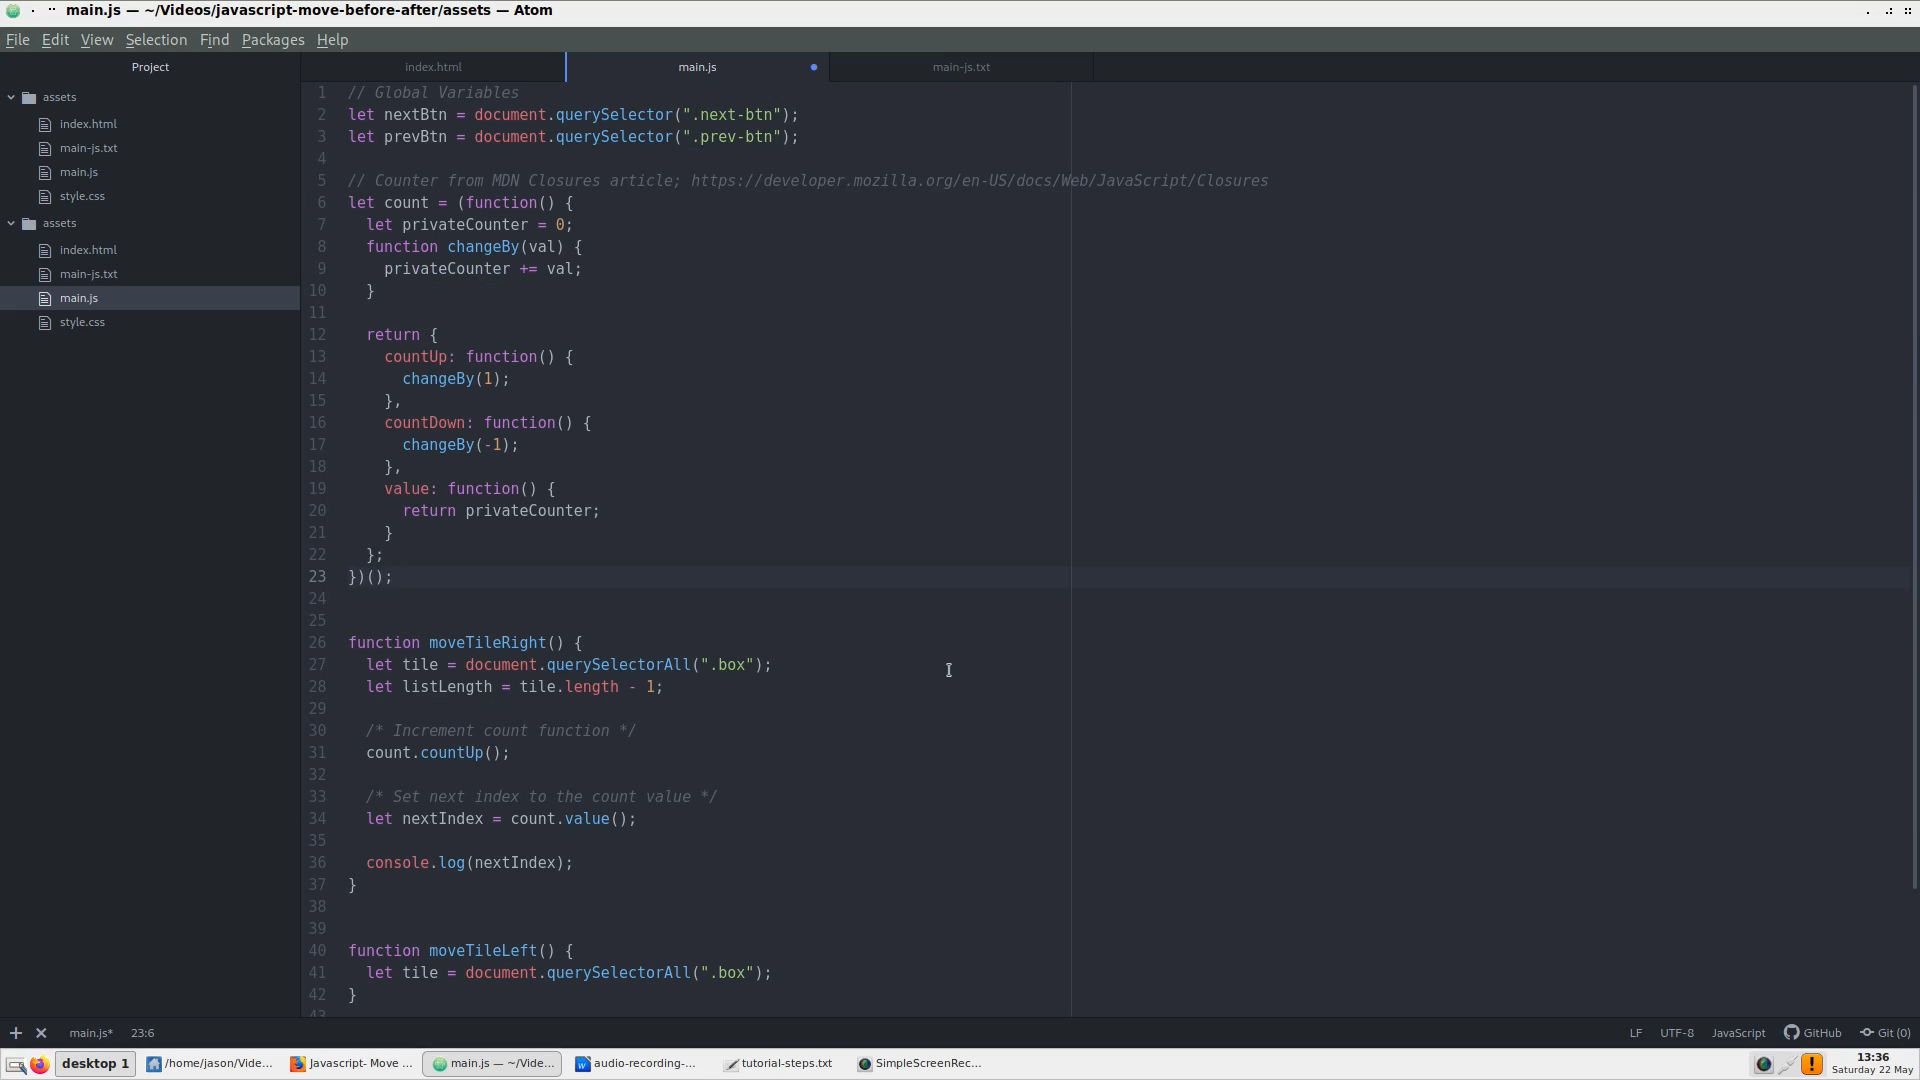
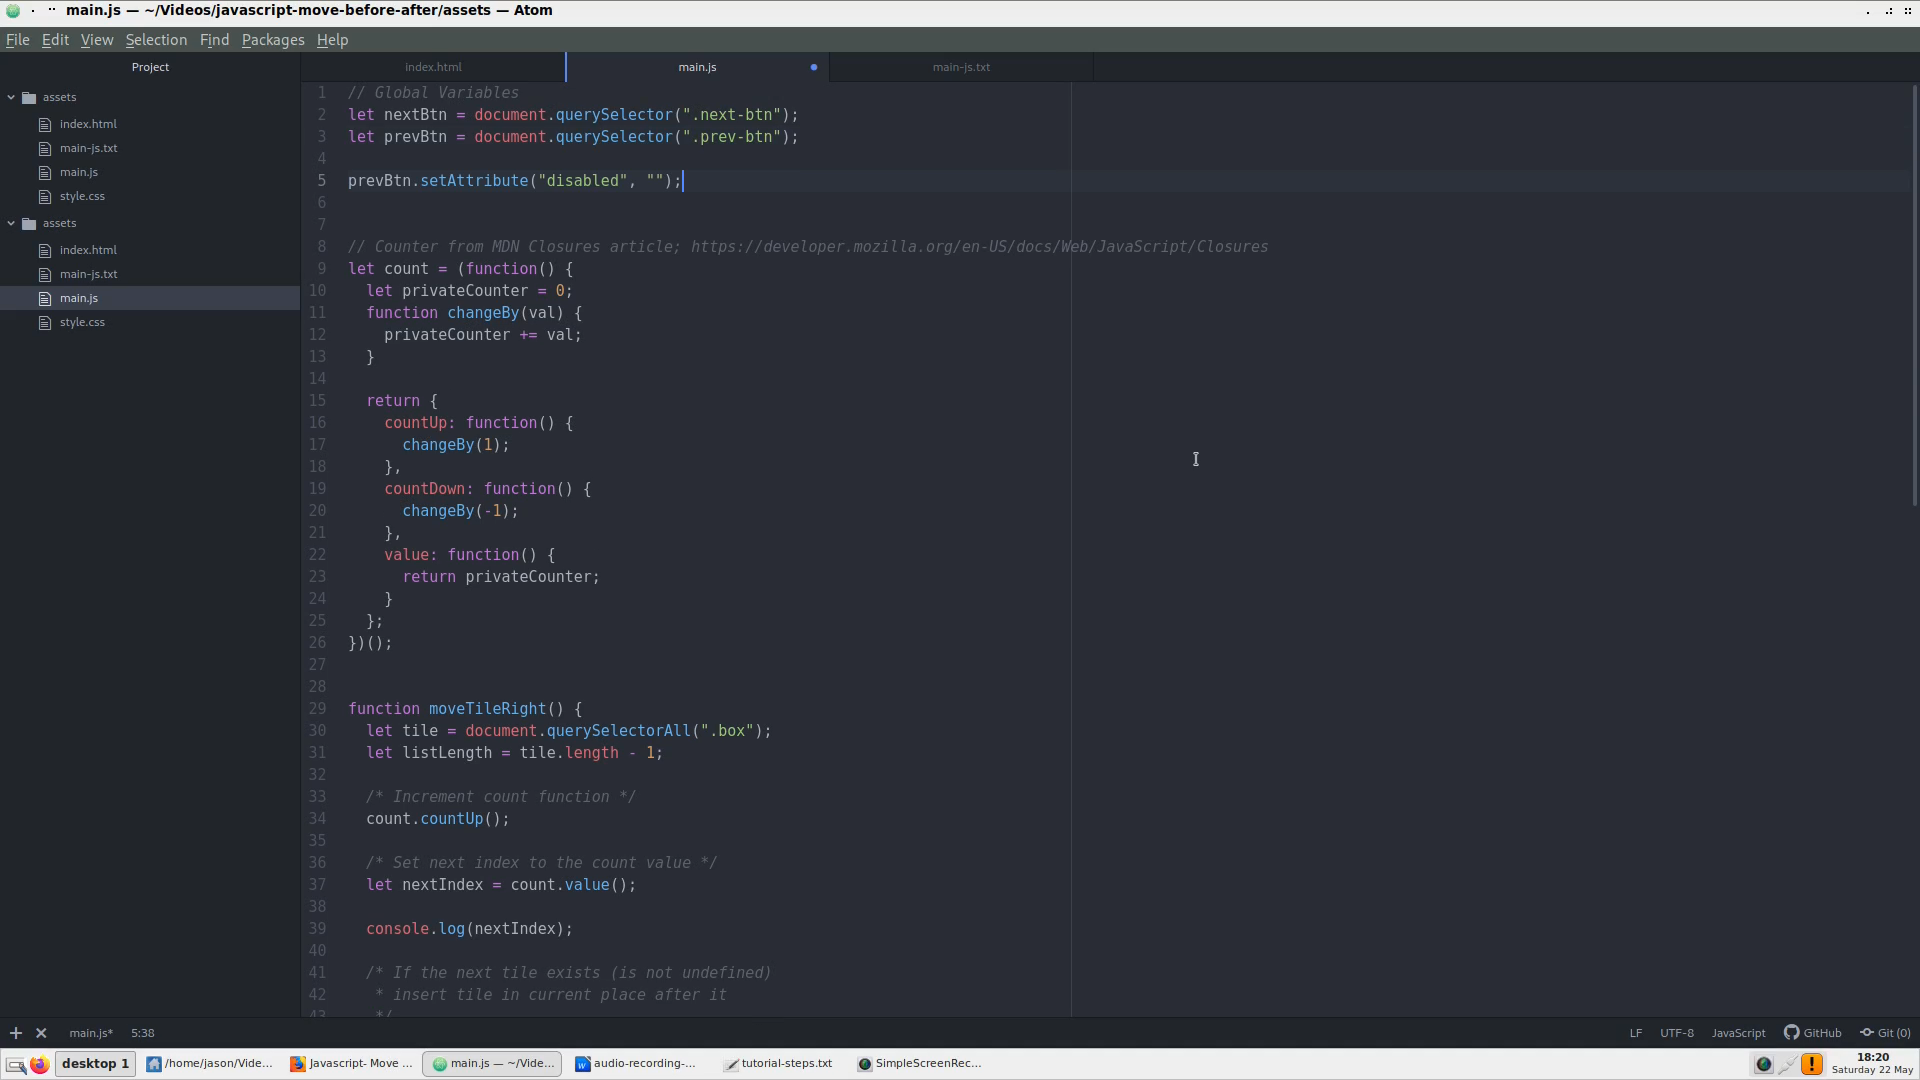
If you’ve watched my previous tutorial about selecting a next and previous tile, one of the first things we did was add a counter to the top of the file. We will repeat that here.
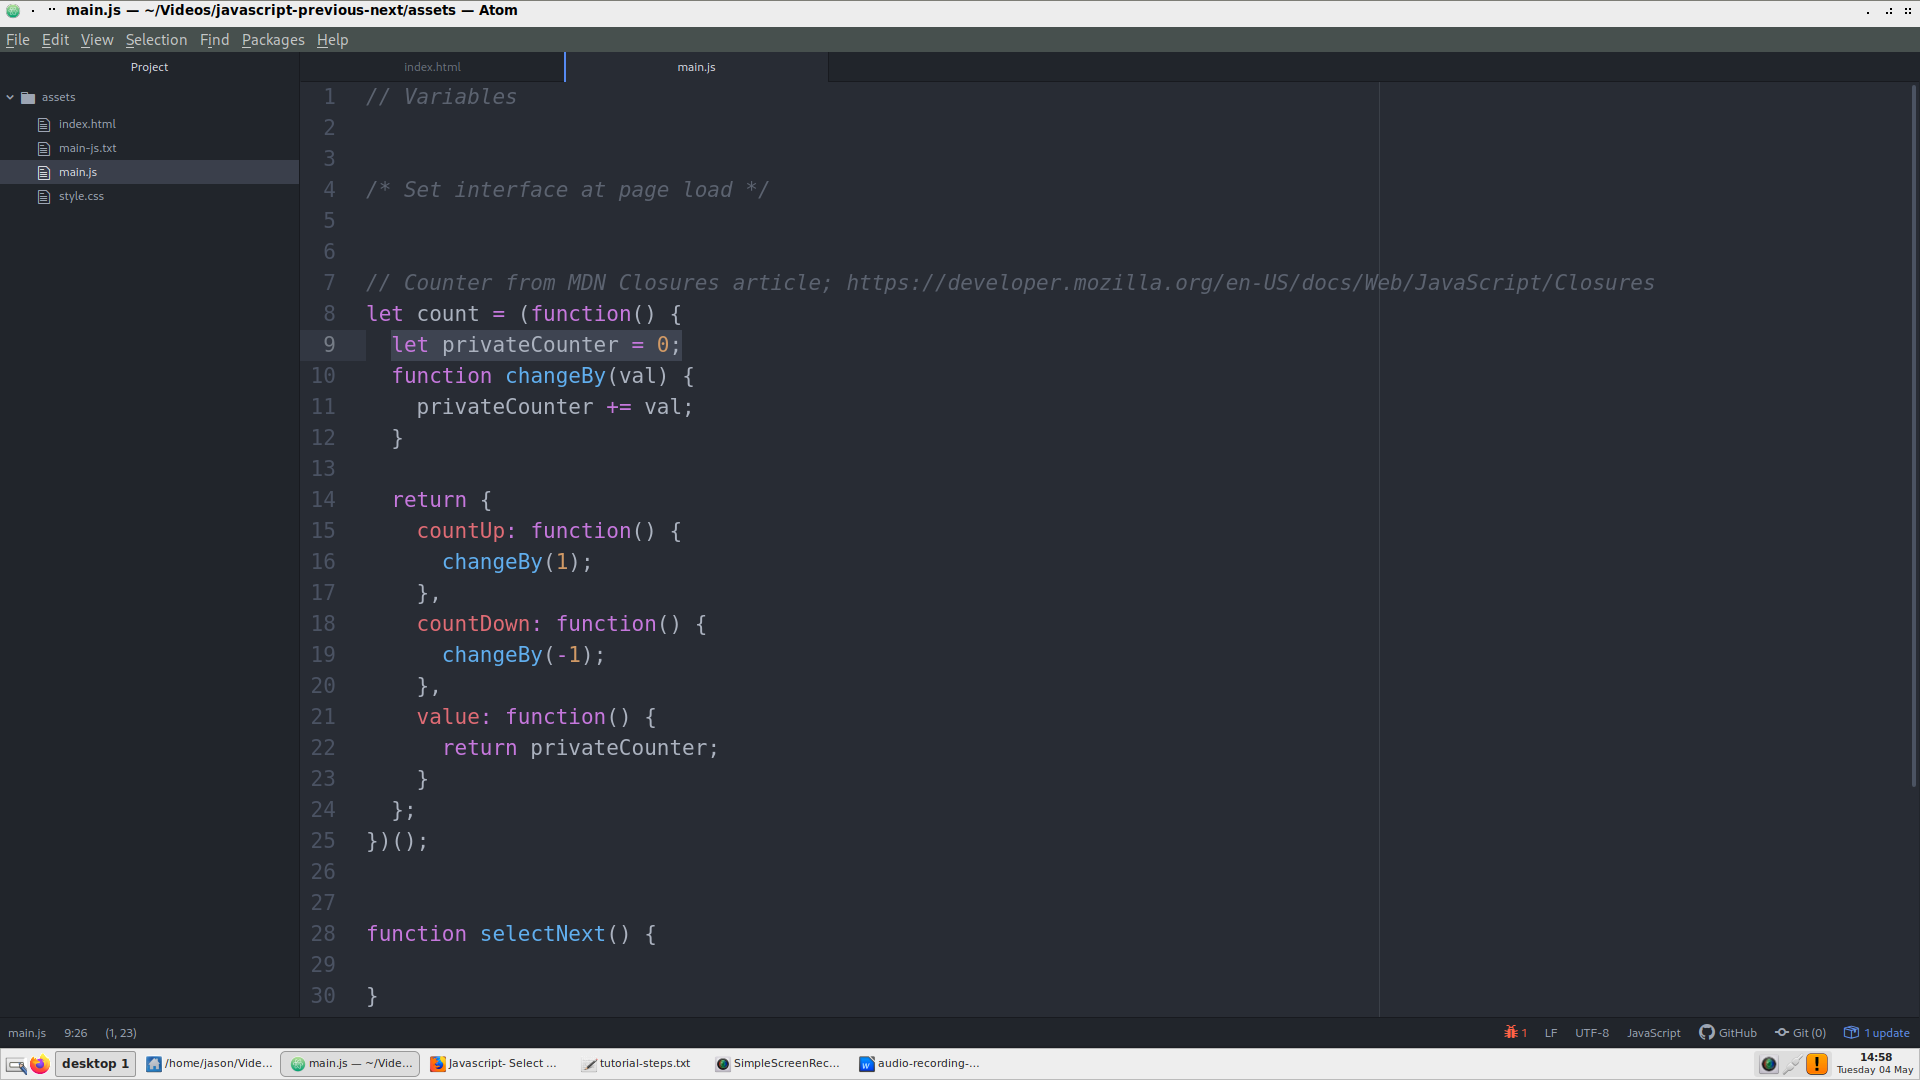
This counter initializes to zero, then uses a changeBy function to count up or down.
Two other functions use the changeBy function with a parameter of 1 or -1. They are the countUp and countDown functions.
The value function keeps track of the the counting result.
Step 2
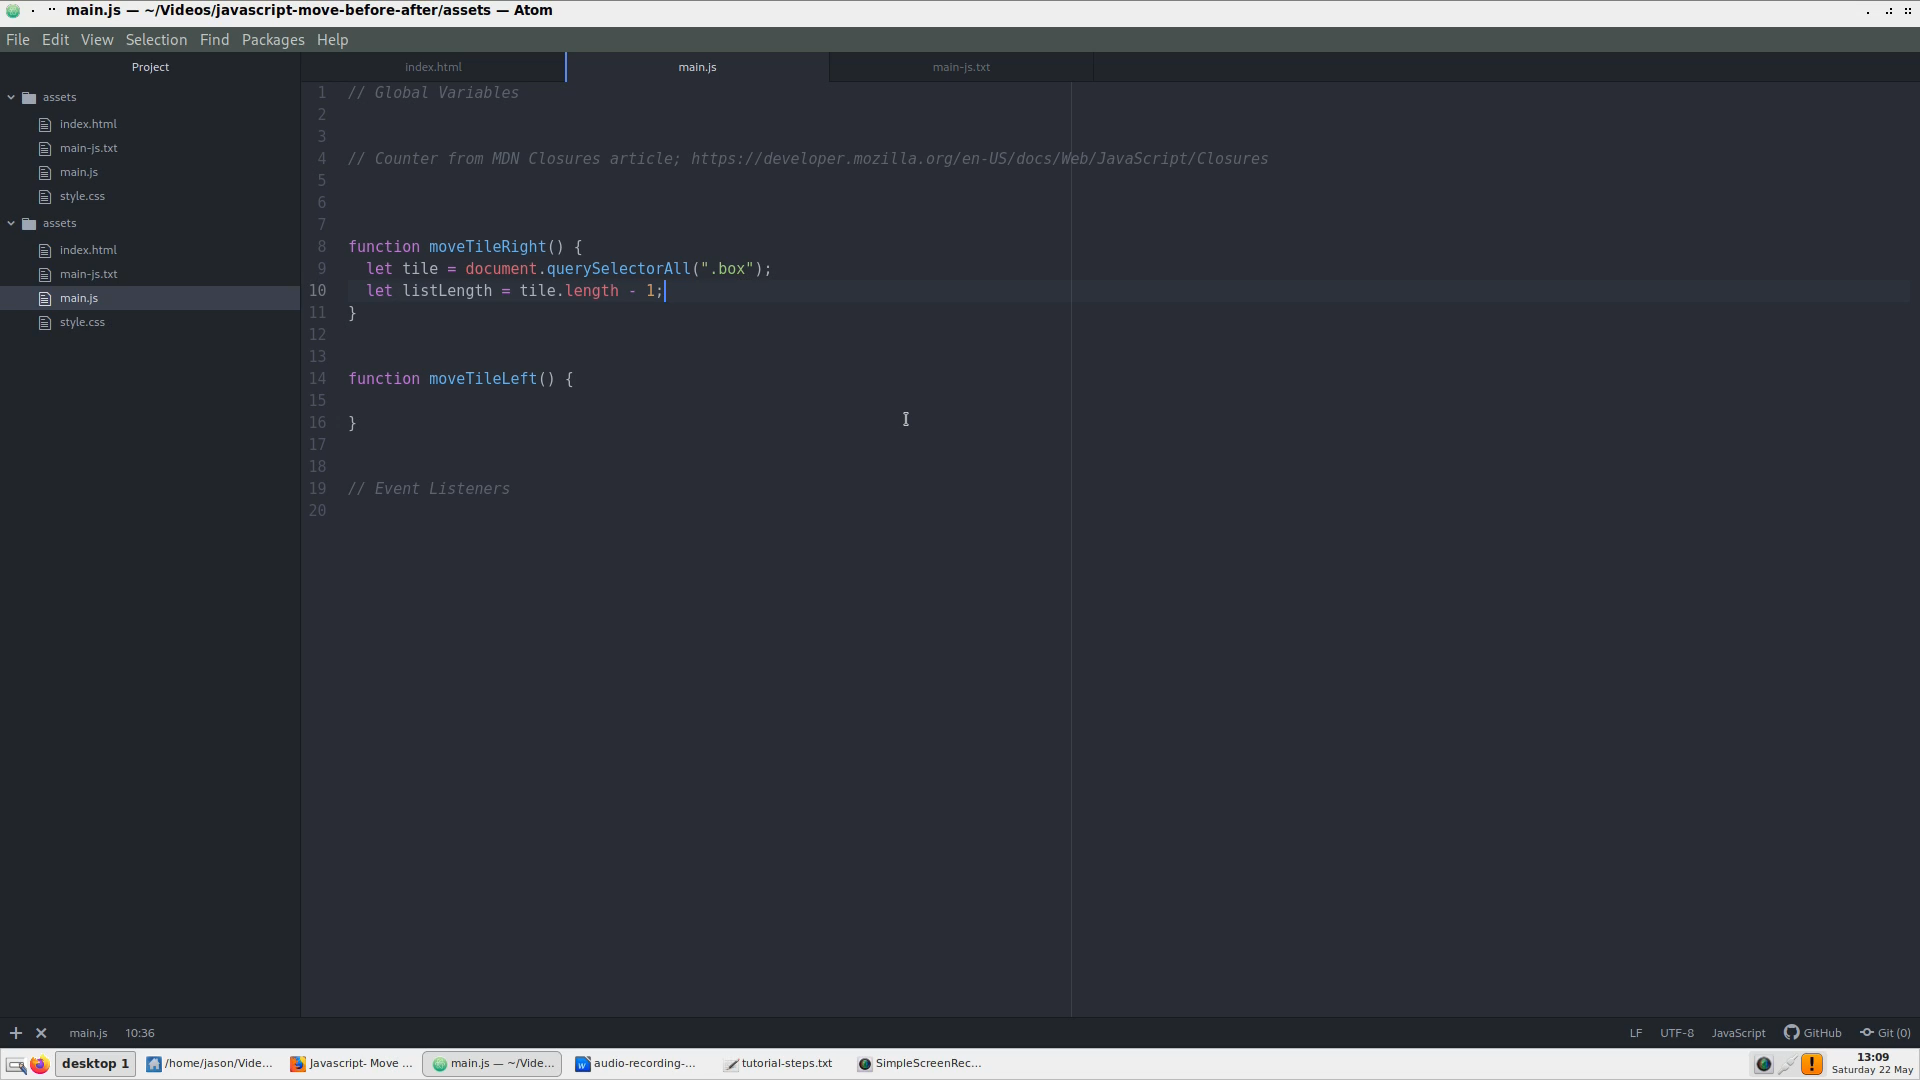
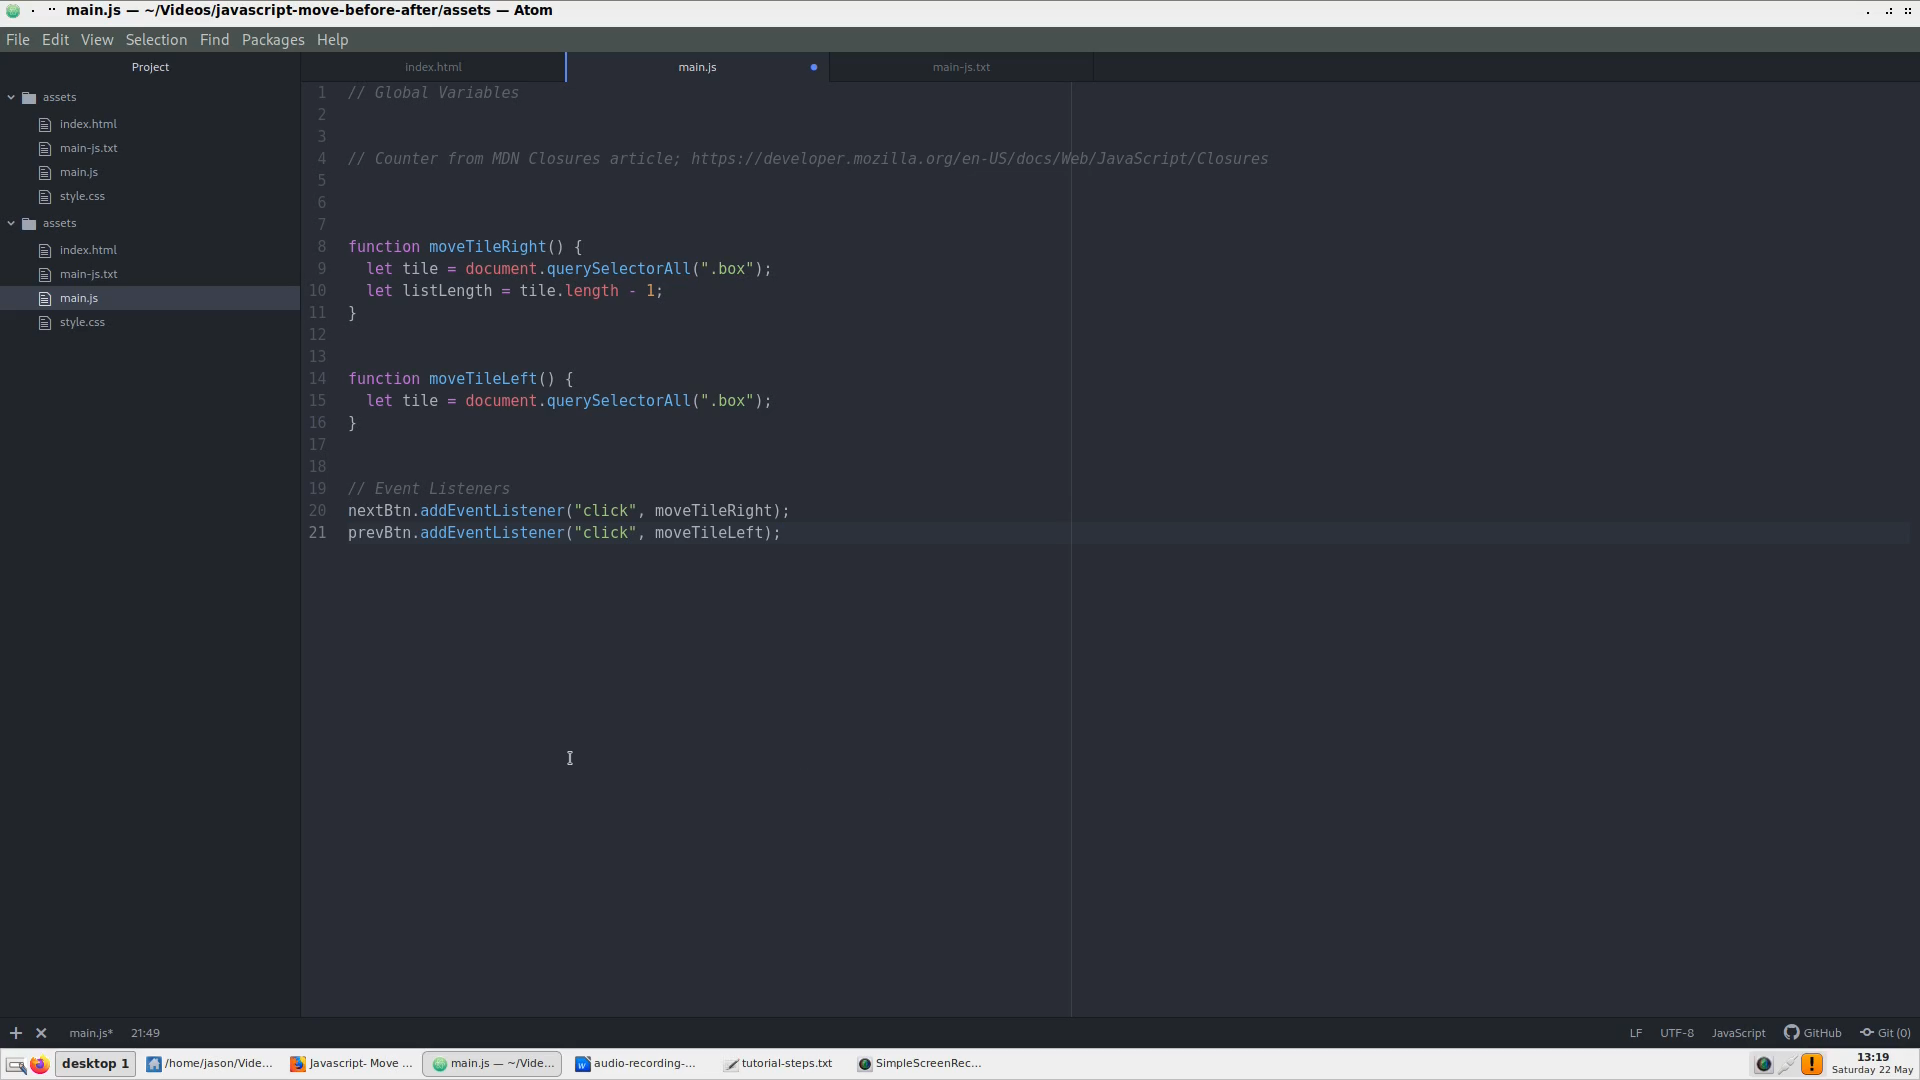
The first thing we need to do is add a variable to reference all of our div elements on the page.
For this, we use document.querySelectorAll to choose all HTML elements with a class of box.
Each function, moveTileRight and moveTileLeft need their own references to the tile variable and declaration, so we will add the first reference to tile at the top of the moveTileRight function.

The next thing we need to reference is our total number of divs with the box class. How do we do this?
Well, the count of the divs, our nodelist, starts from 1 and in this case, since there are 5 elements, it counts up to five.
But since our counter starts at zero, we will subtract 1 from our total number of div elements, assigning this declaration to a listLength variable.
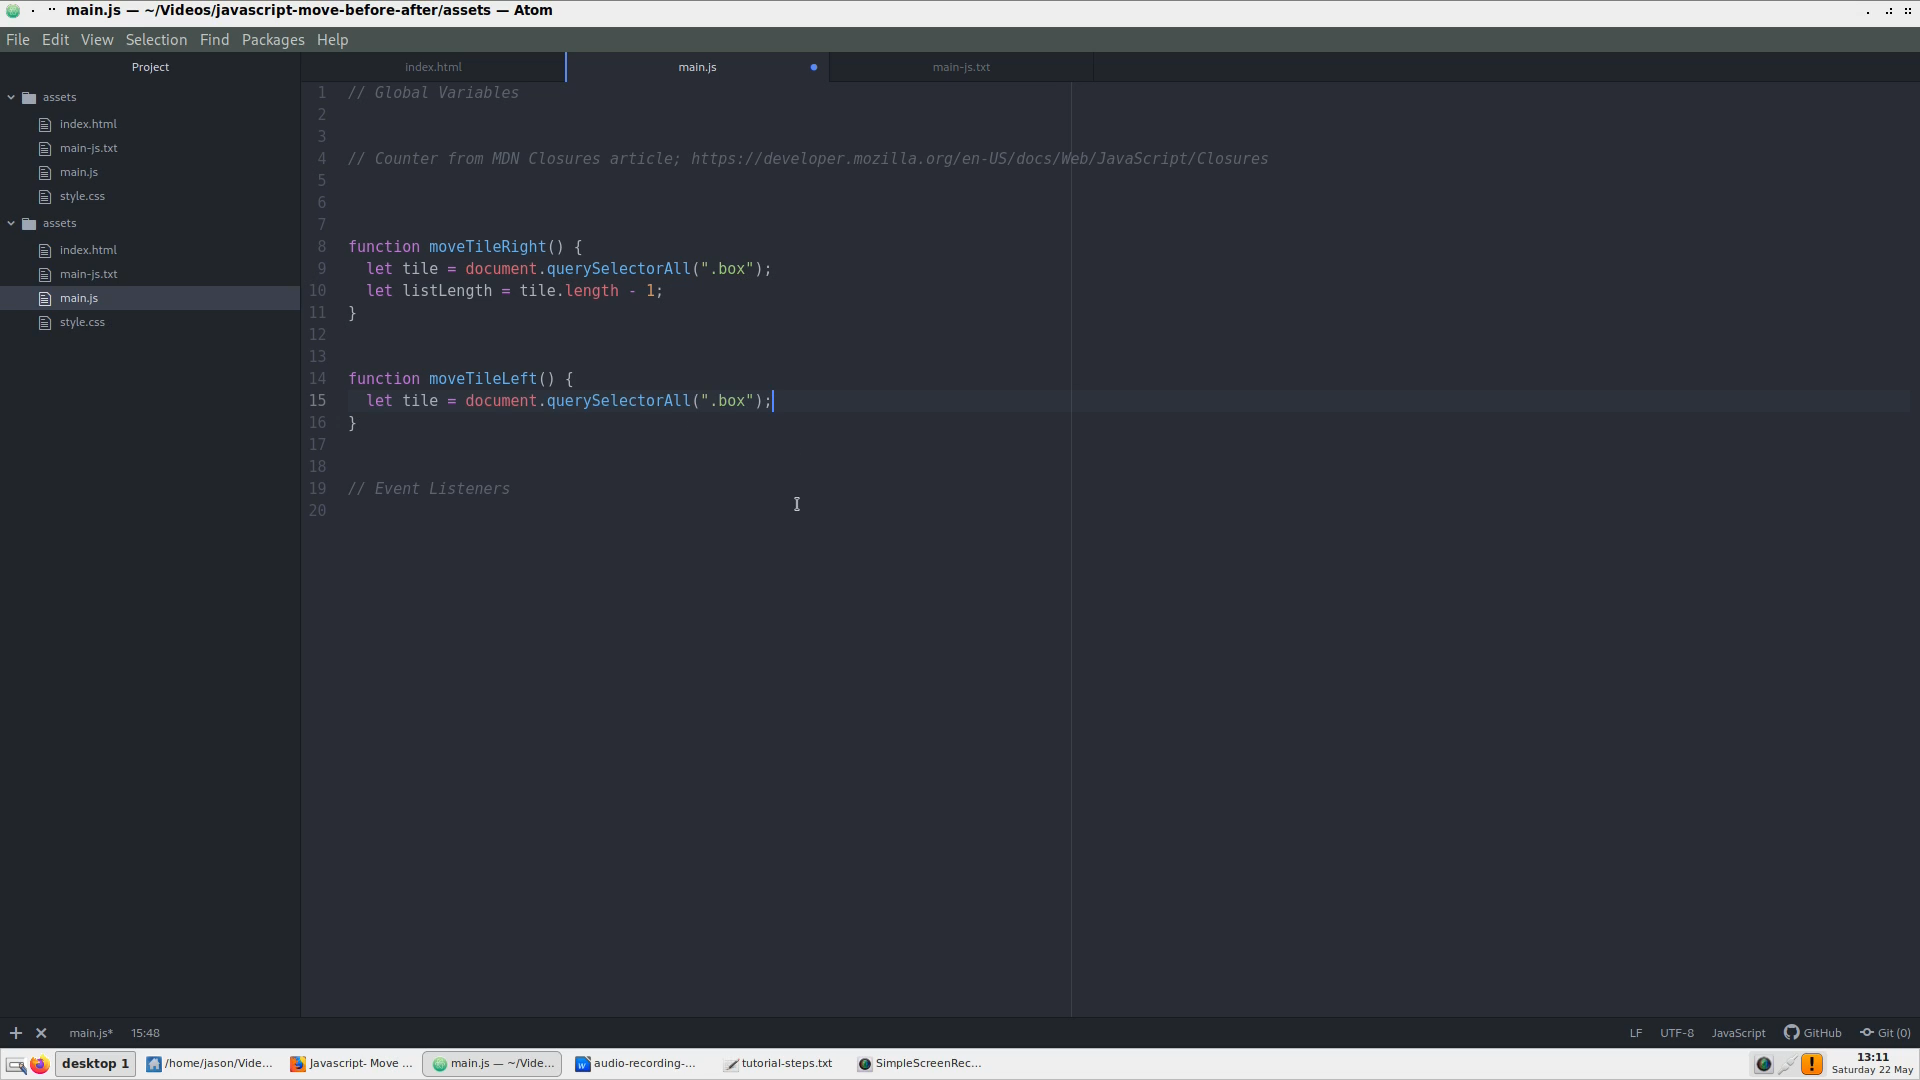
Let’s also add the tile variable declaration to the top of the moveTileLeft function as well.
In this step, we also want to setup click events for each button.
Step 3
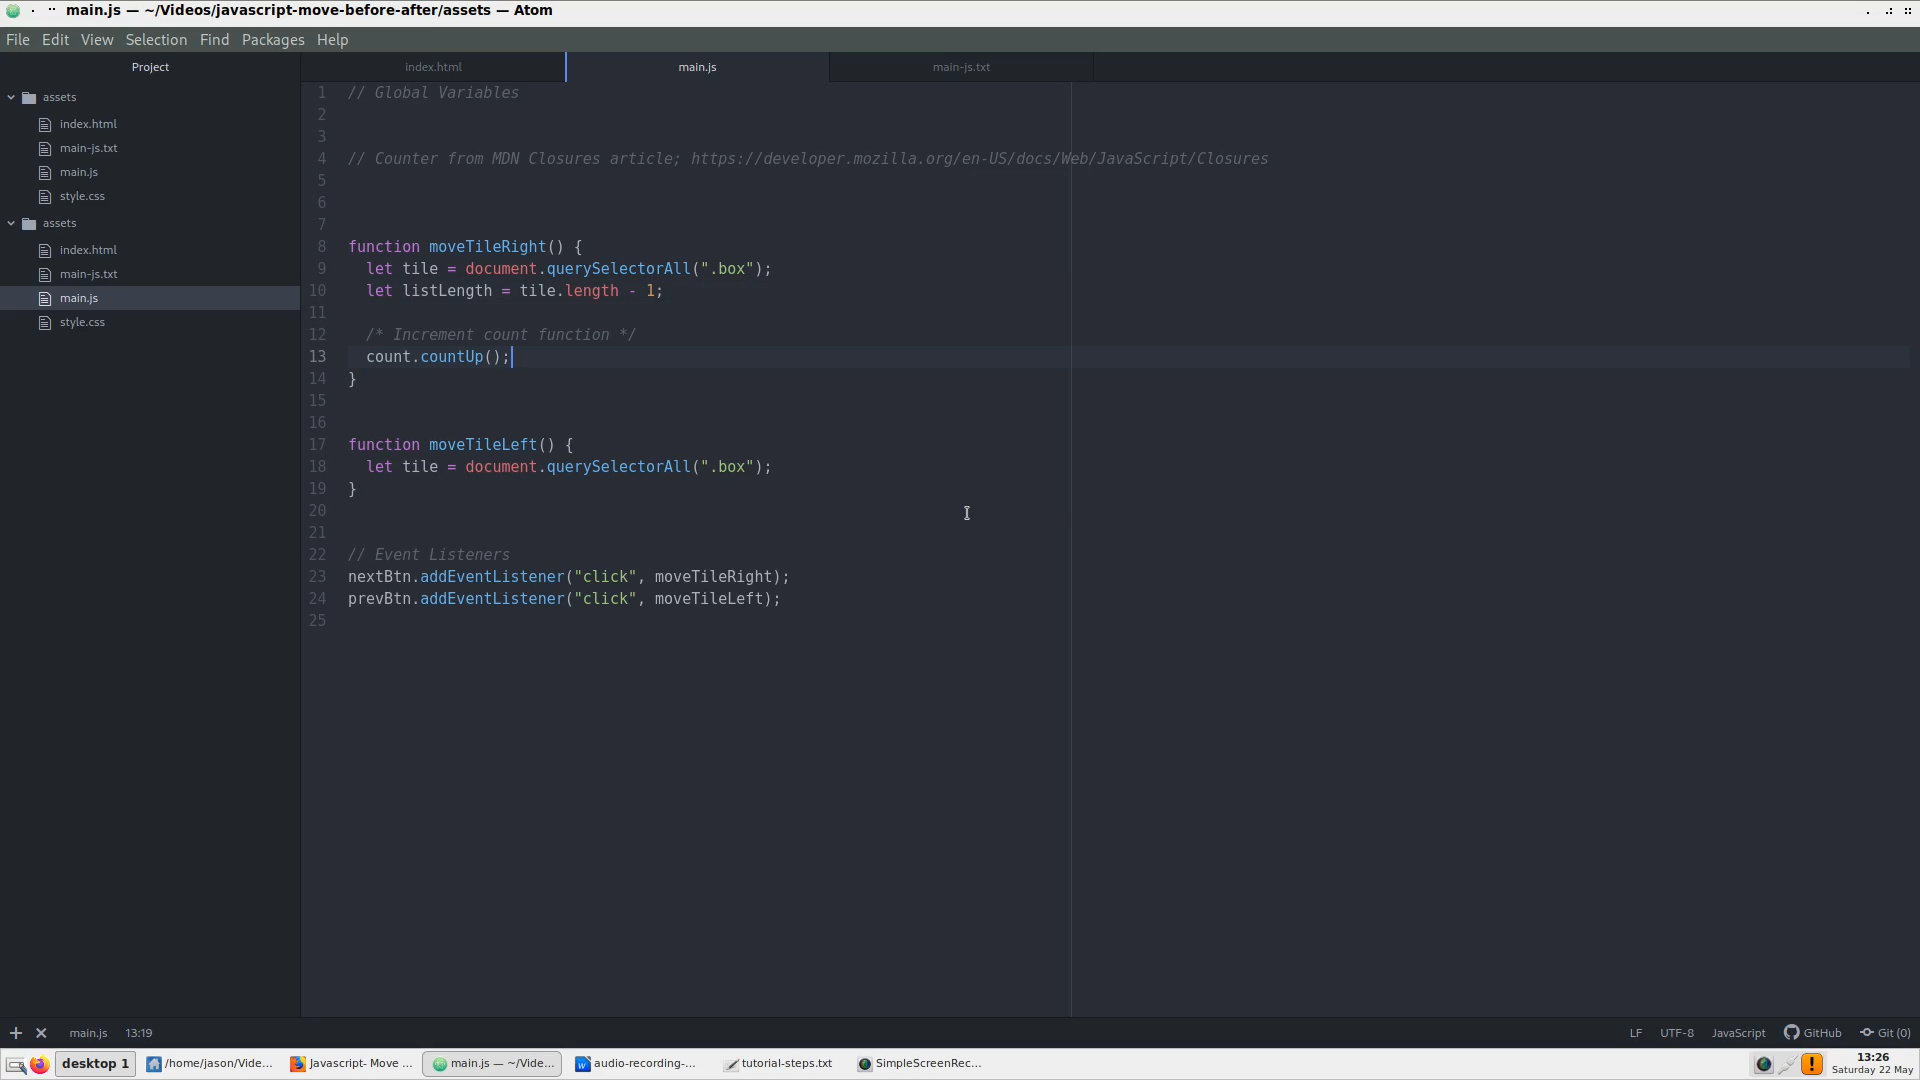
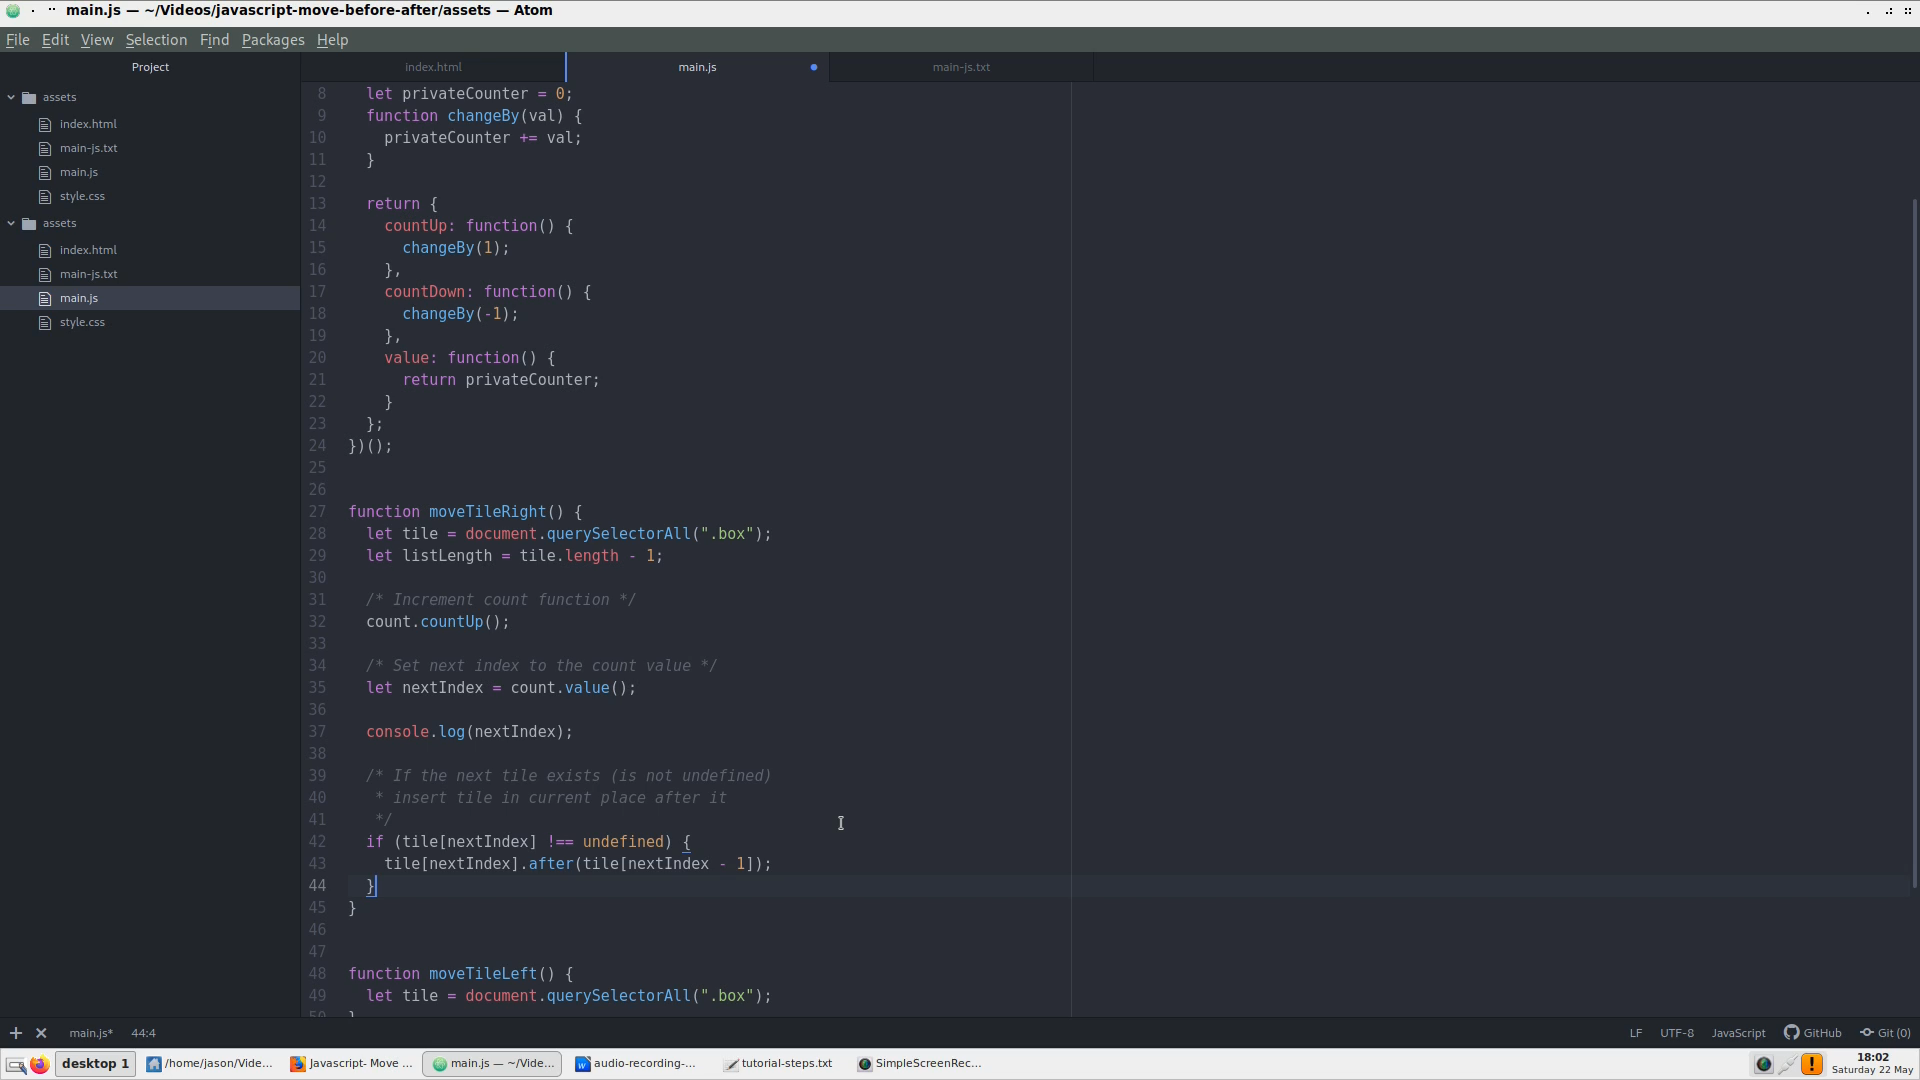
Now we can start working on the moveTileRight functionality by first adding the countUp function from our counter.
Then, assign the counter’s value method to a nextIndex variable.
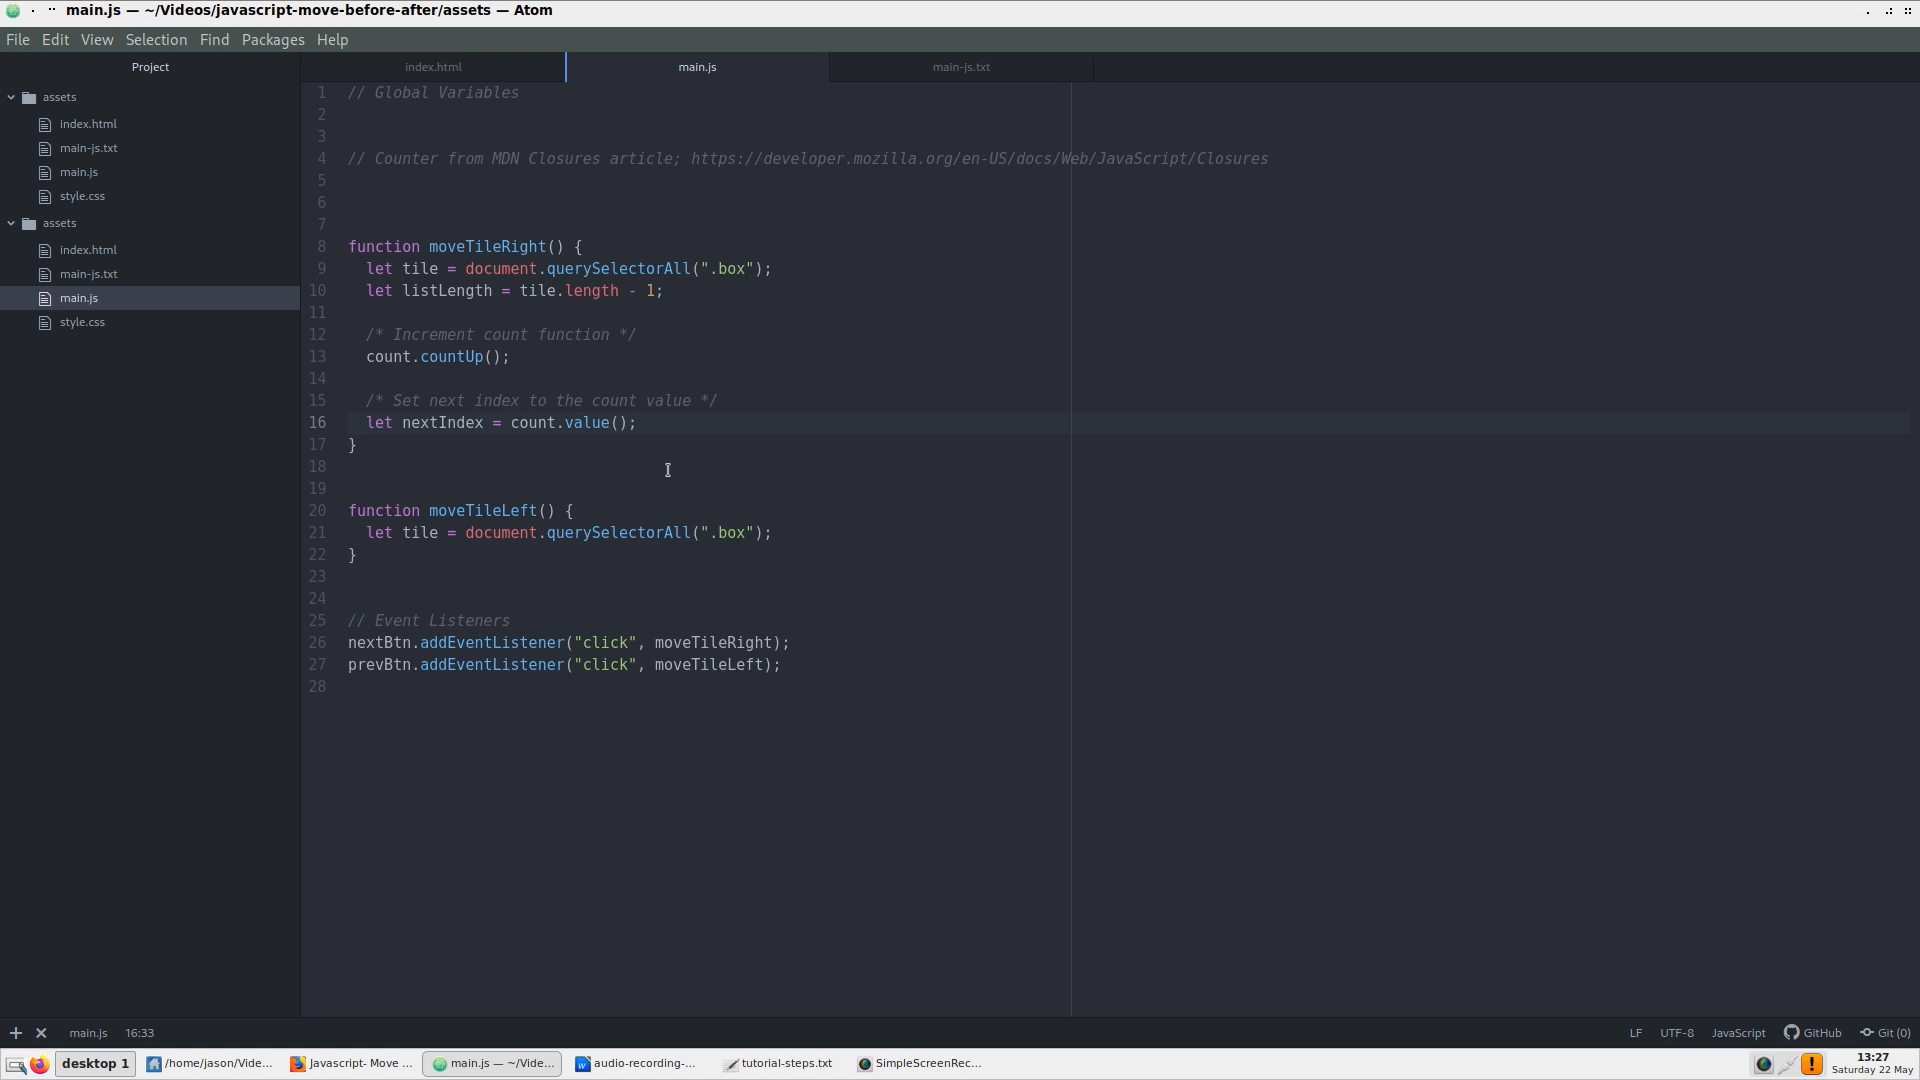
This increments the index number up 1 with each click. We can console log the nextIndex variable to see this in action.
Oops, I forgot to add the variables to reference our buttons at the top and the counter. Let’s add those.
Next we check if the tile we are currently on is not undefined.
If it is not, then we insert the current tile after the tile that comes next. This can get tricky, so let me explain.
When we click, the index will go to the next tile up. What we want is to take the current tile, which after clicking, will be in the position one level before the current one, and move it ahead of the current tile.
For this, we use JavaScript’s ChildNode.after function.
Similarly to how we did in the Select Previous and Next tutorial, we will also add code to disable the next button when we reach the end of our nodelist.
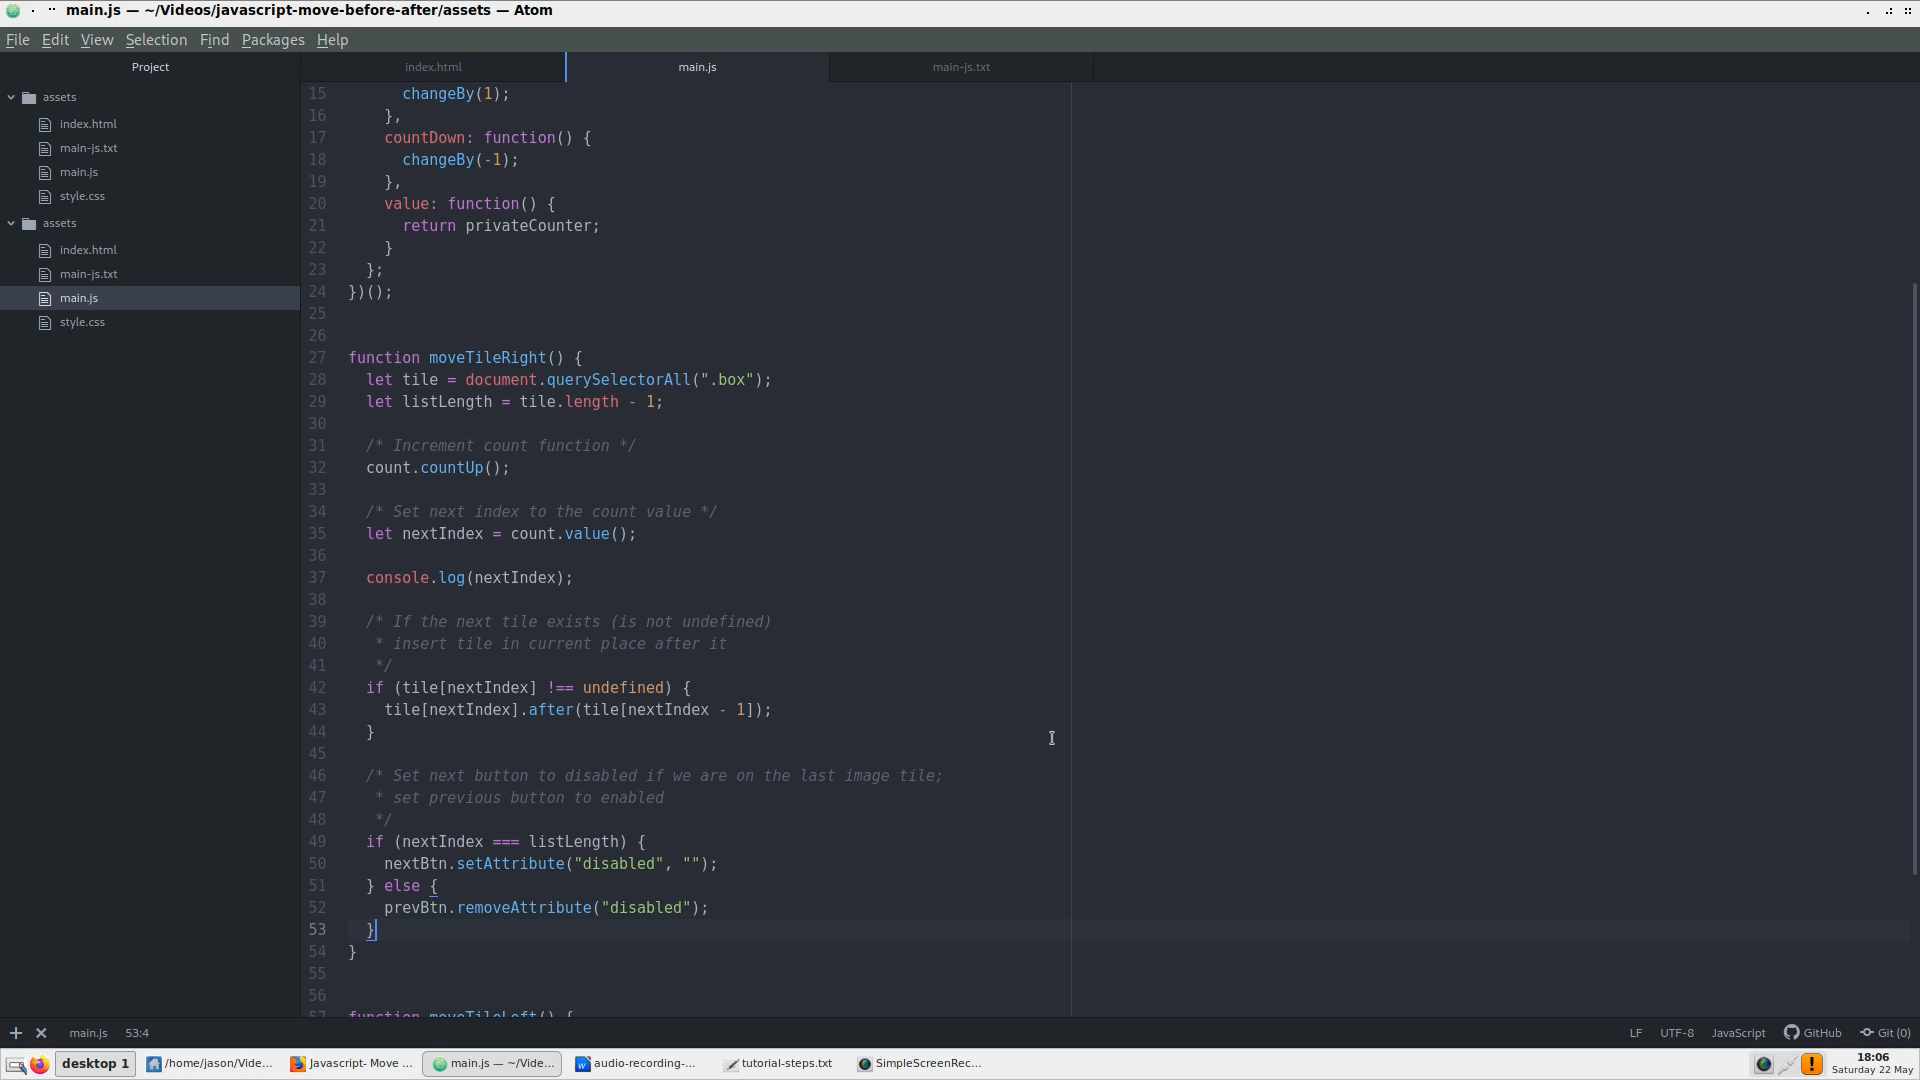
This is important, as it stops the index from counting.
Step 4
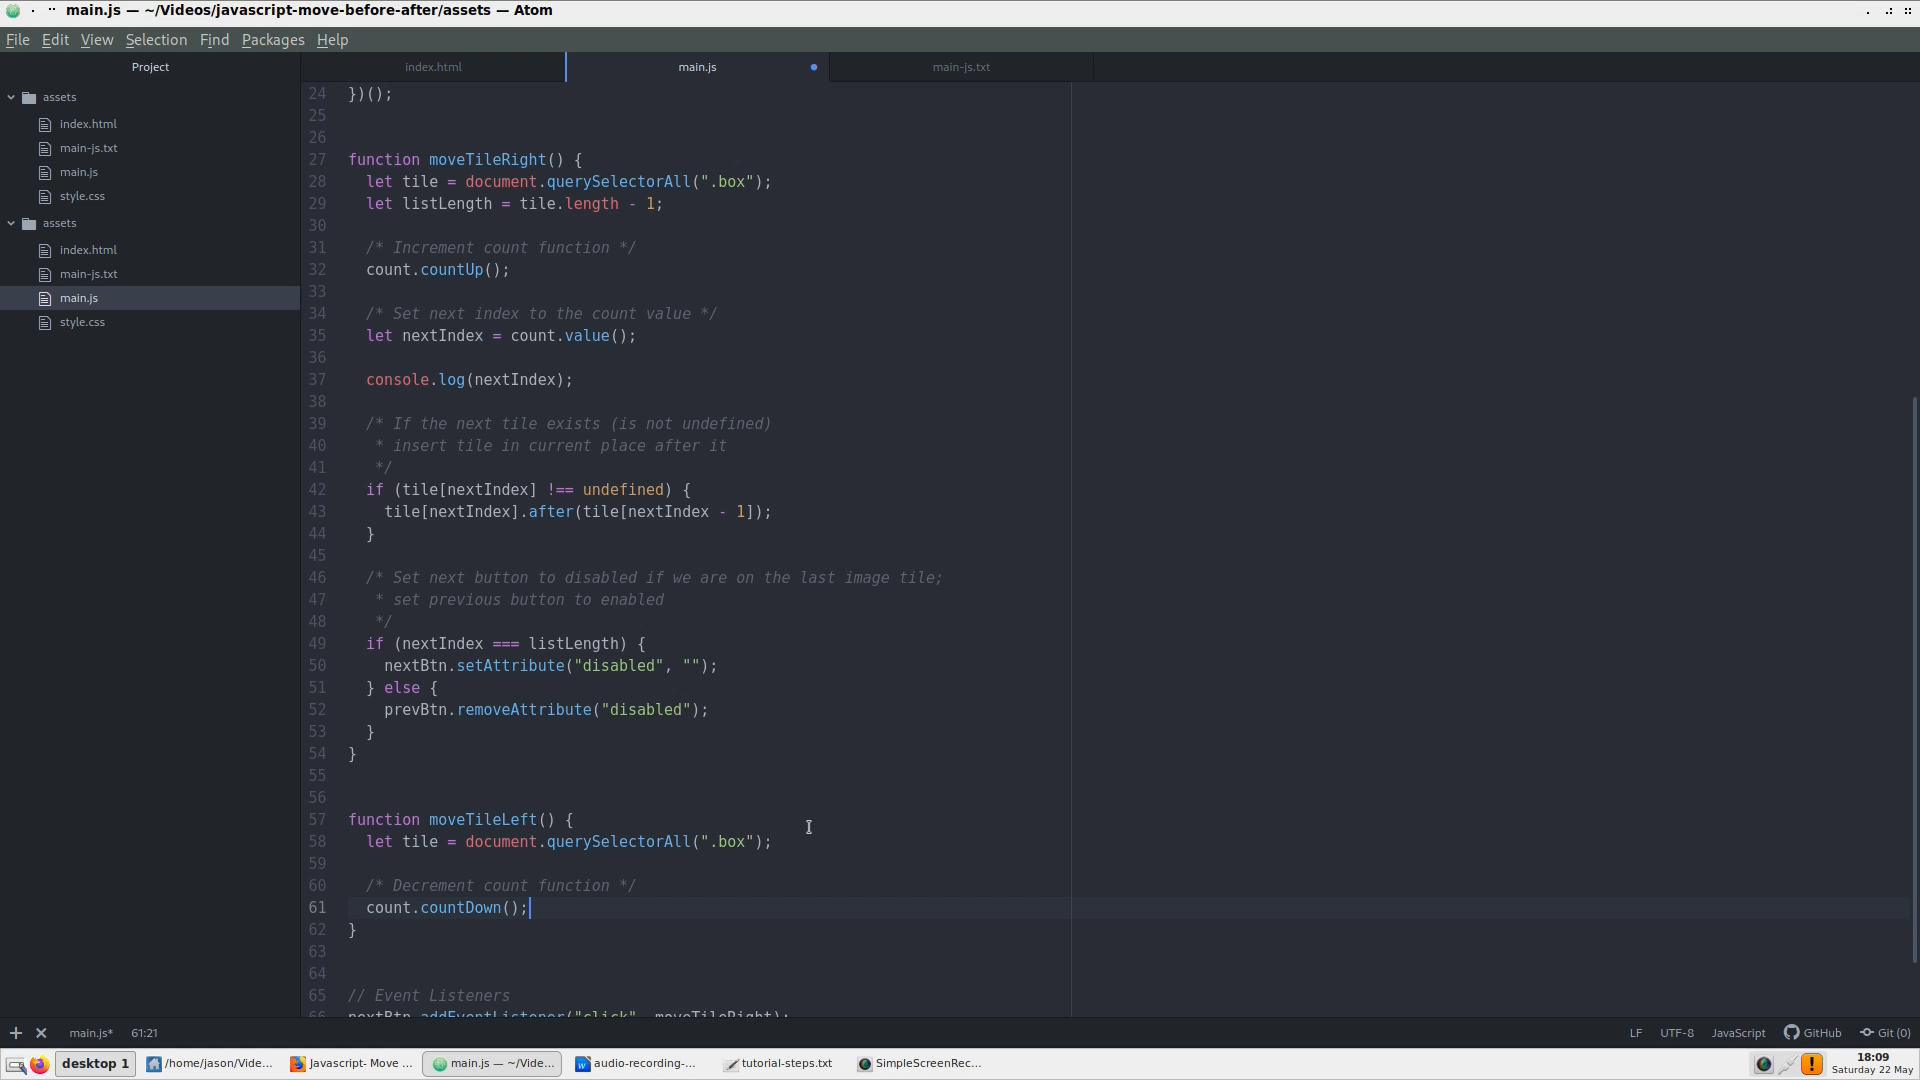
Next, we can work on the functionality for the moveTileLeft function.
Let’s add the countDown method from our counter.
Our prevIndex variable is set to the count.value method, just like in the moveTileRight function.
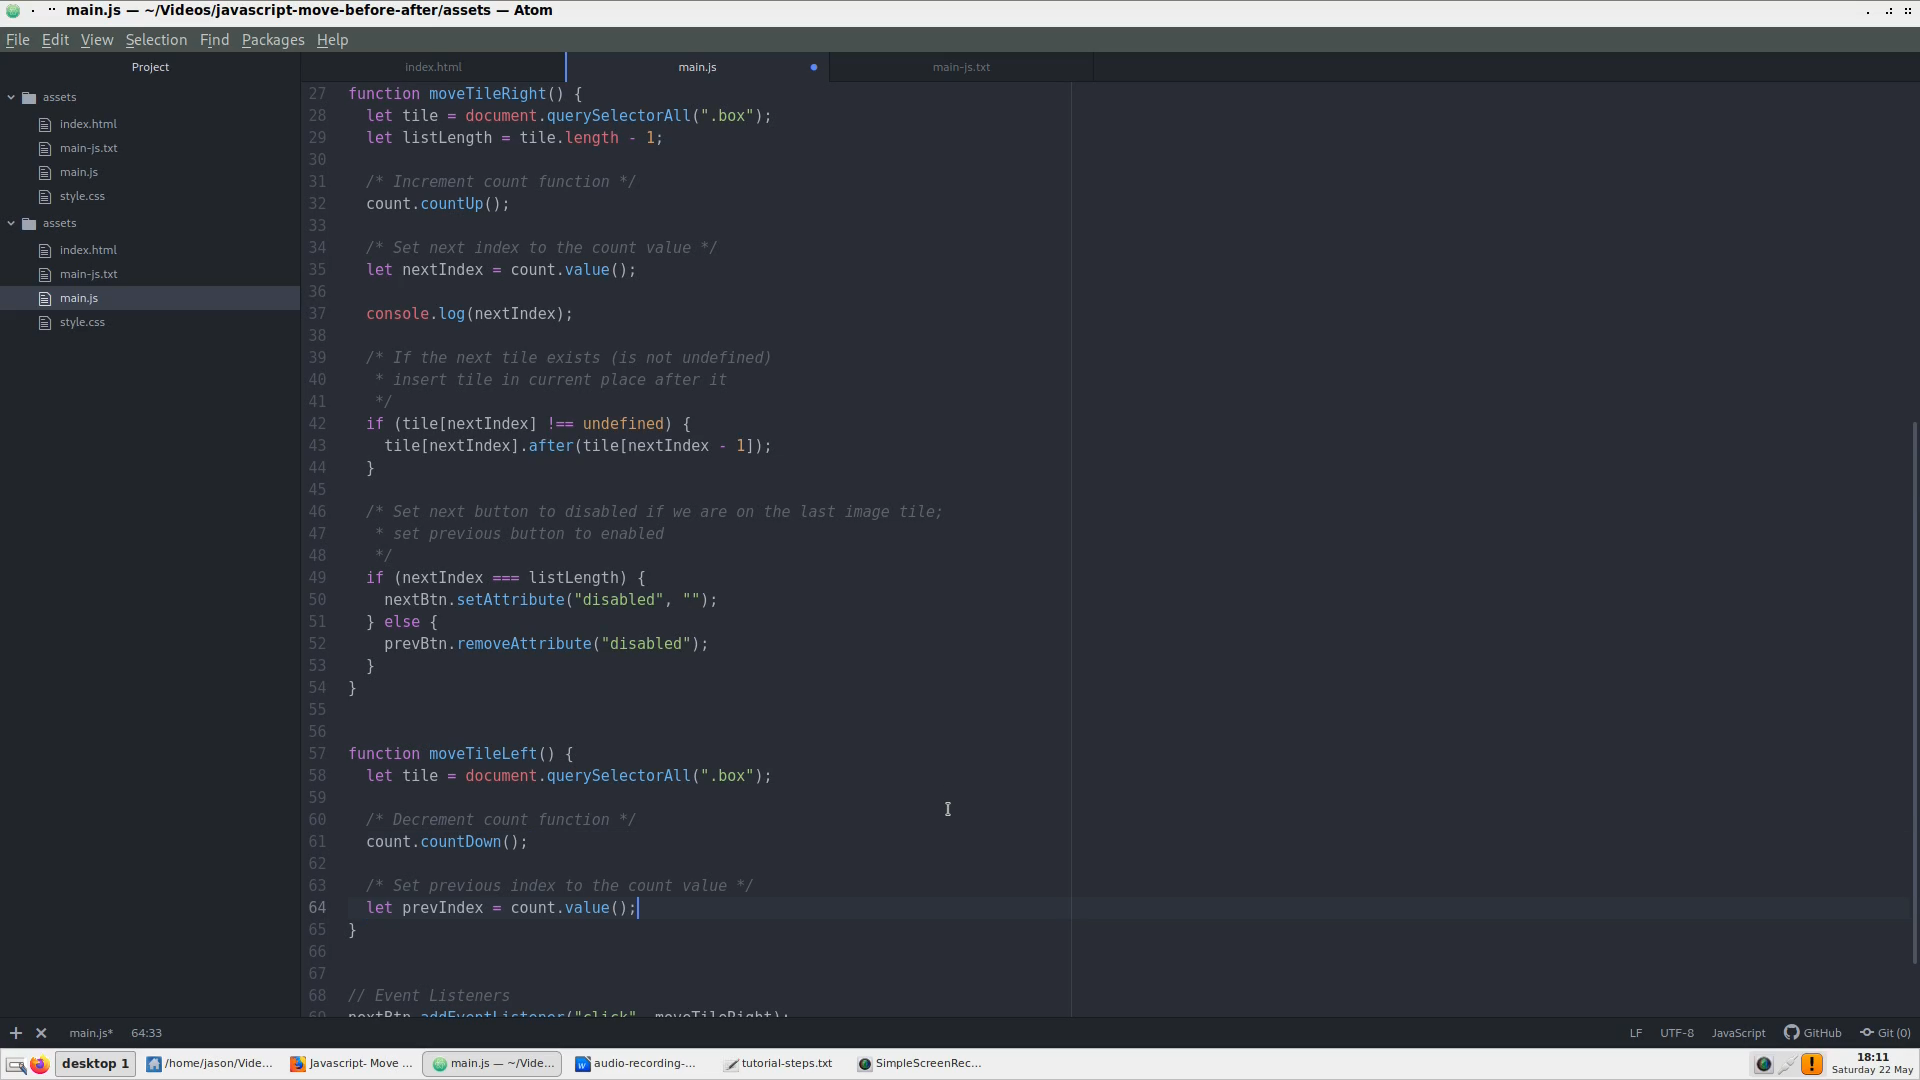
We, again, check if the current index is not undefined, but this time upon clicking, the index will go to the tile before the current one.
Thus, we move the tile that is one above the current one and place it before the current tile.
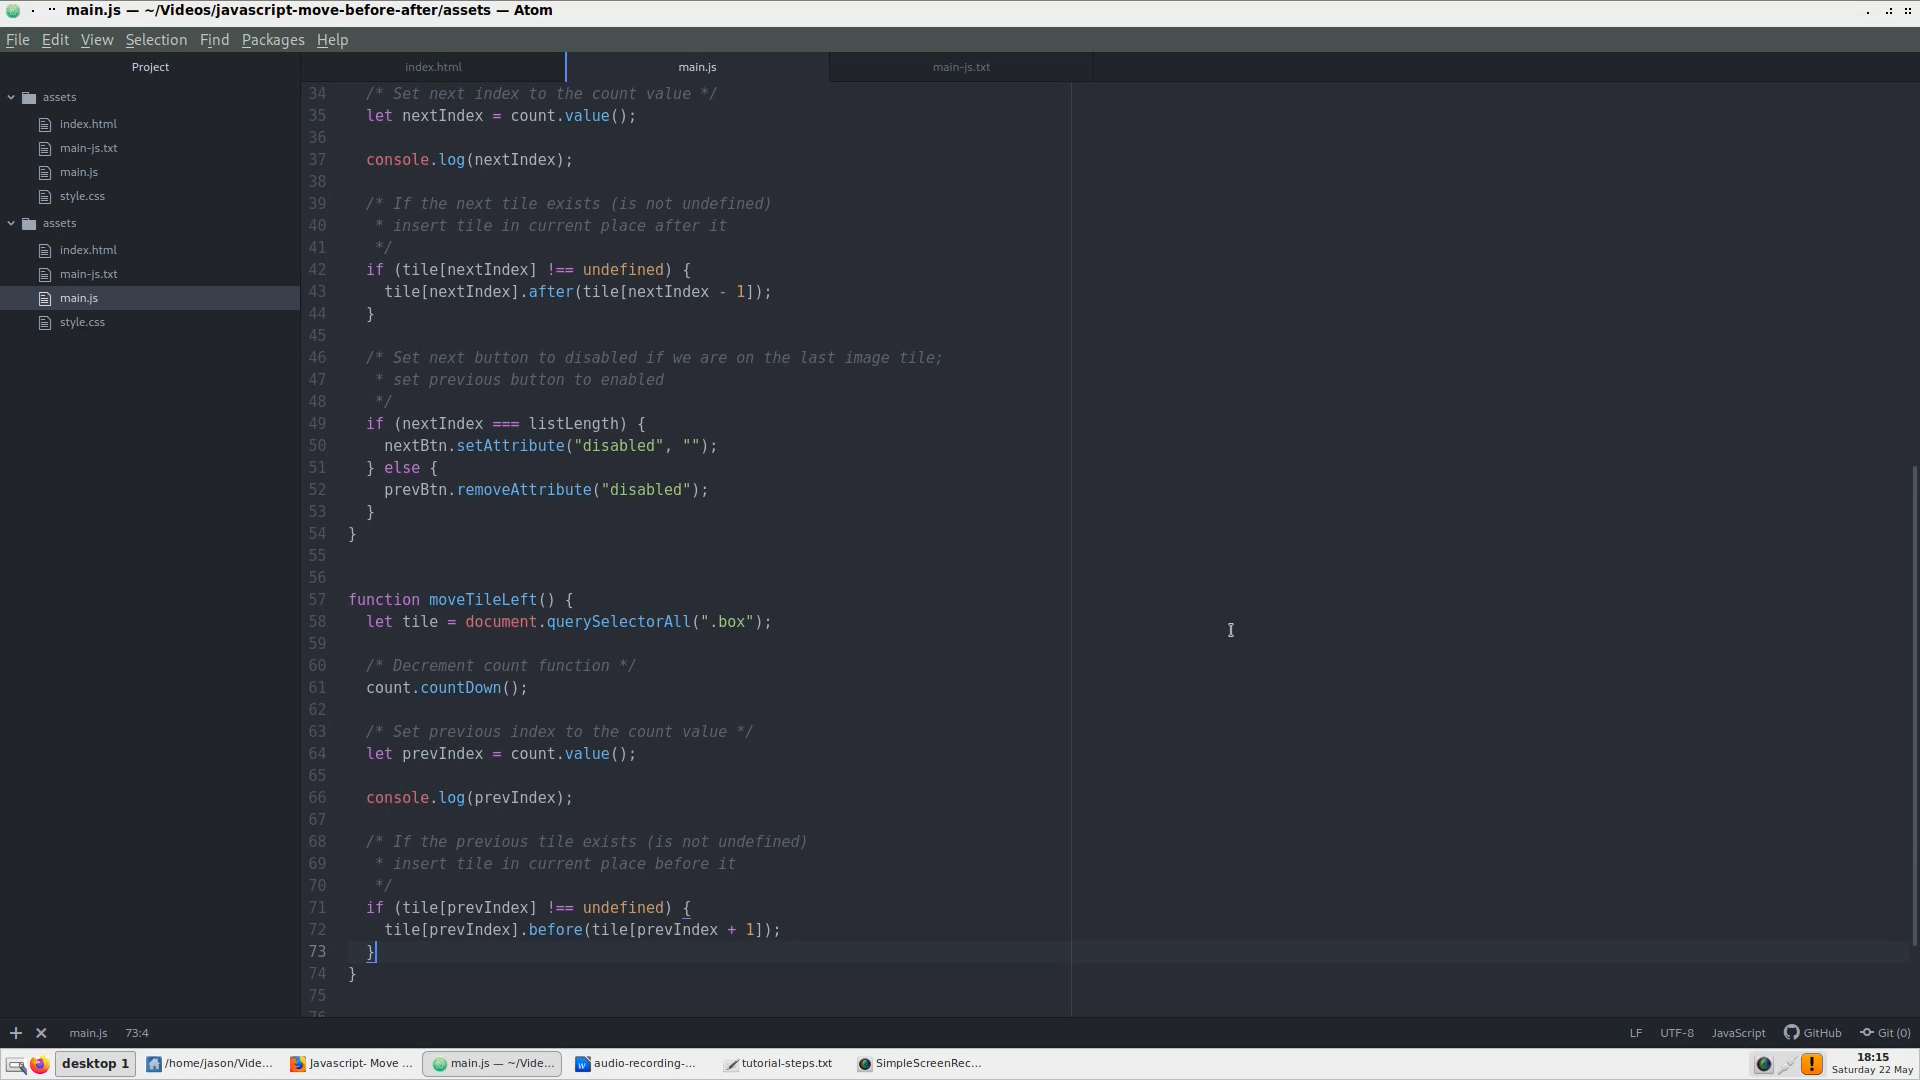
We can also add the code to disable the previous button if the previous index is equal to zero.
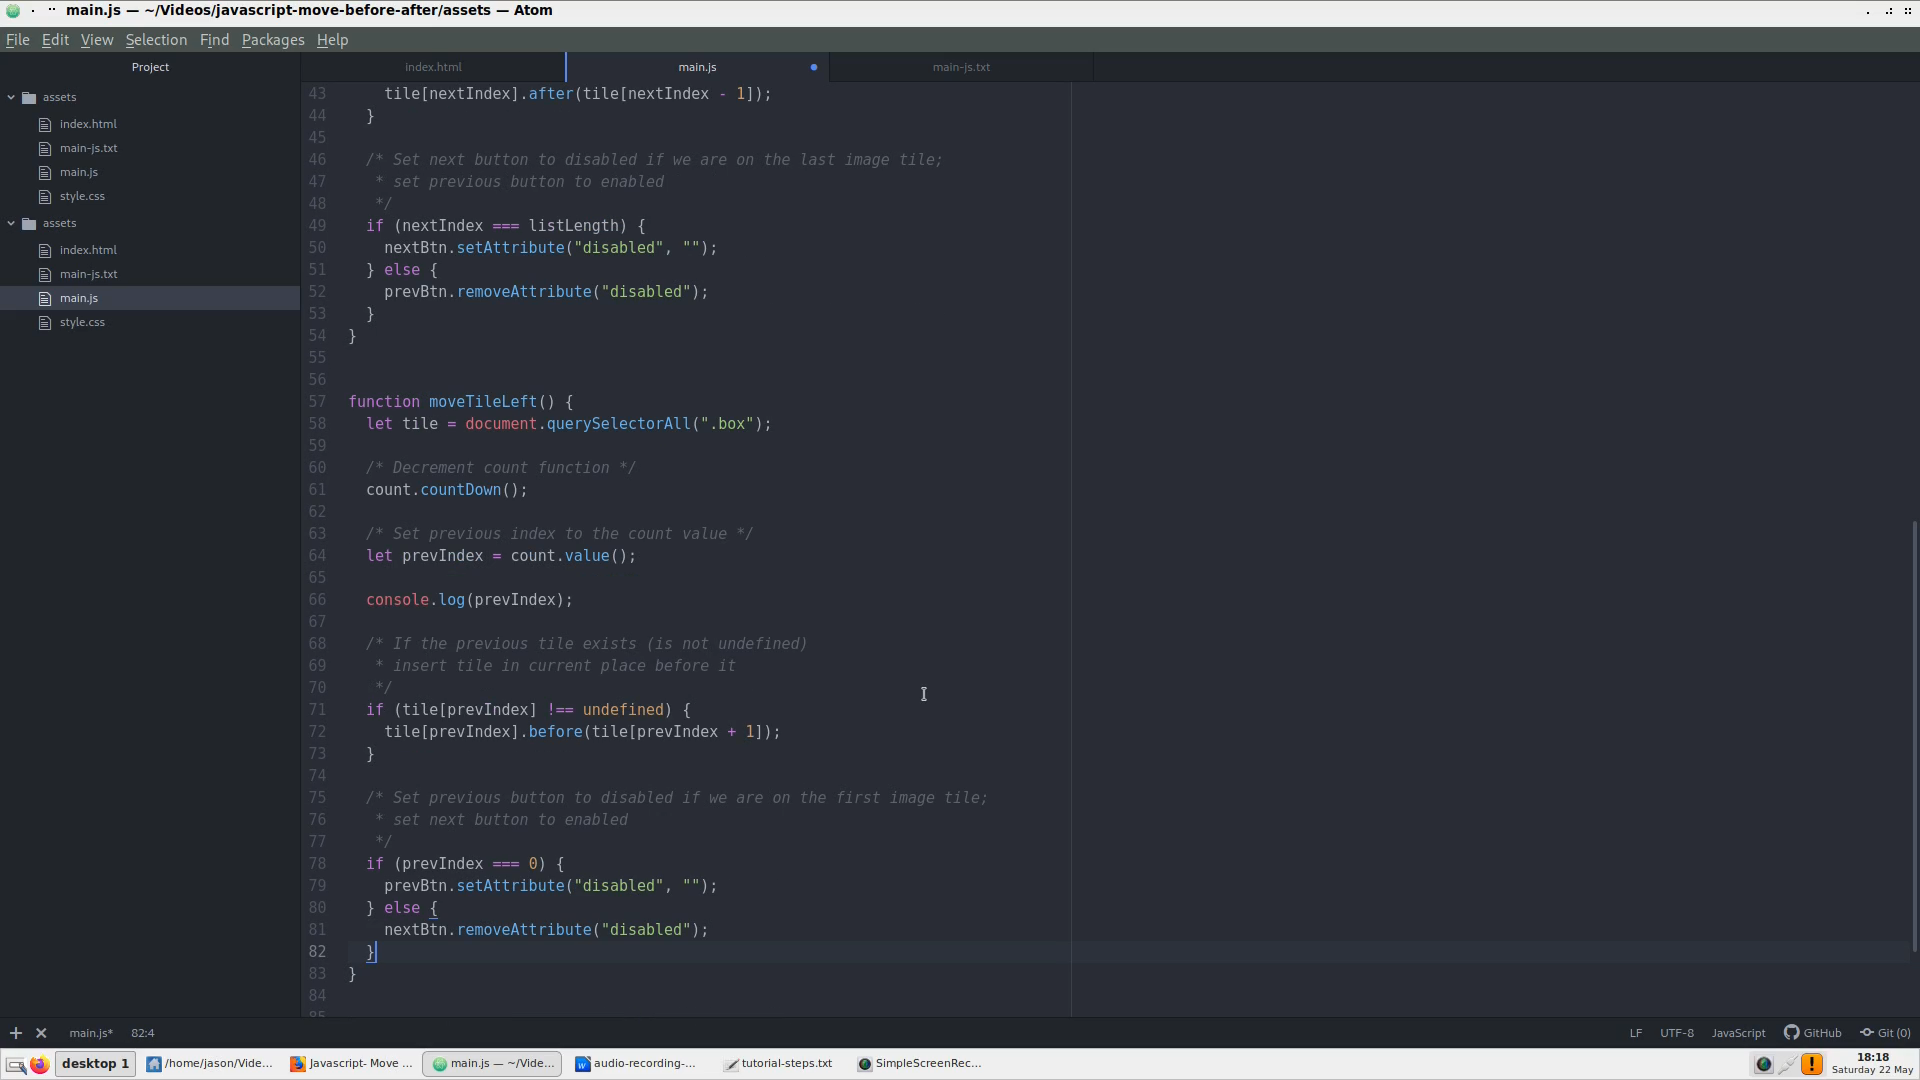
One final thing we should do for our Move Left button is to set it to disabled on screen load so users can’t click back at first page load.
To do that, we simply add the disabled attribute to the button. We will put this just below the variables.
Step 5
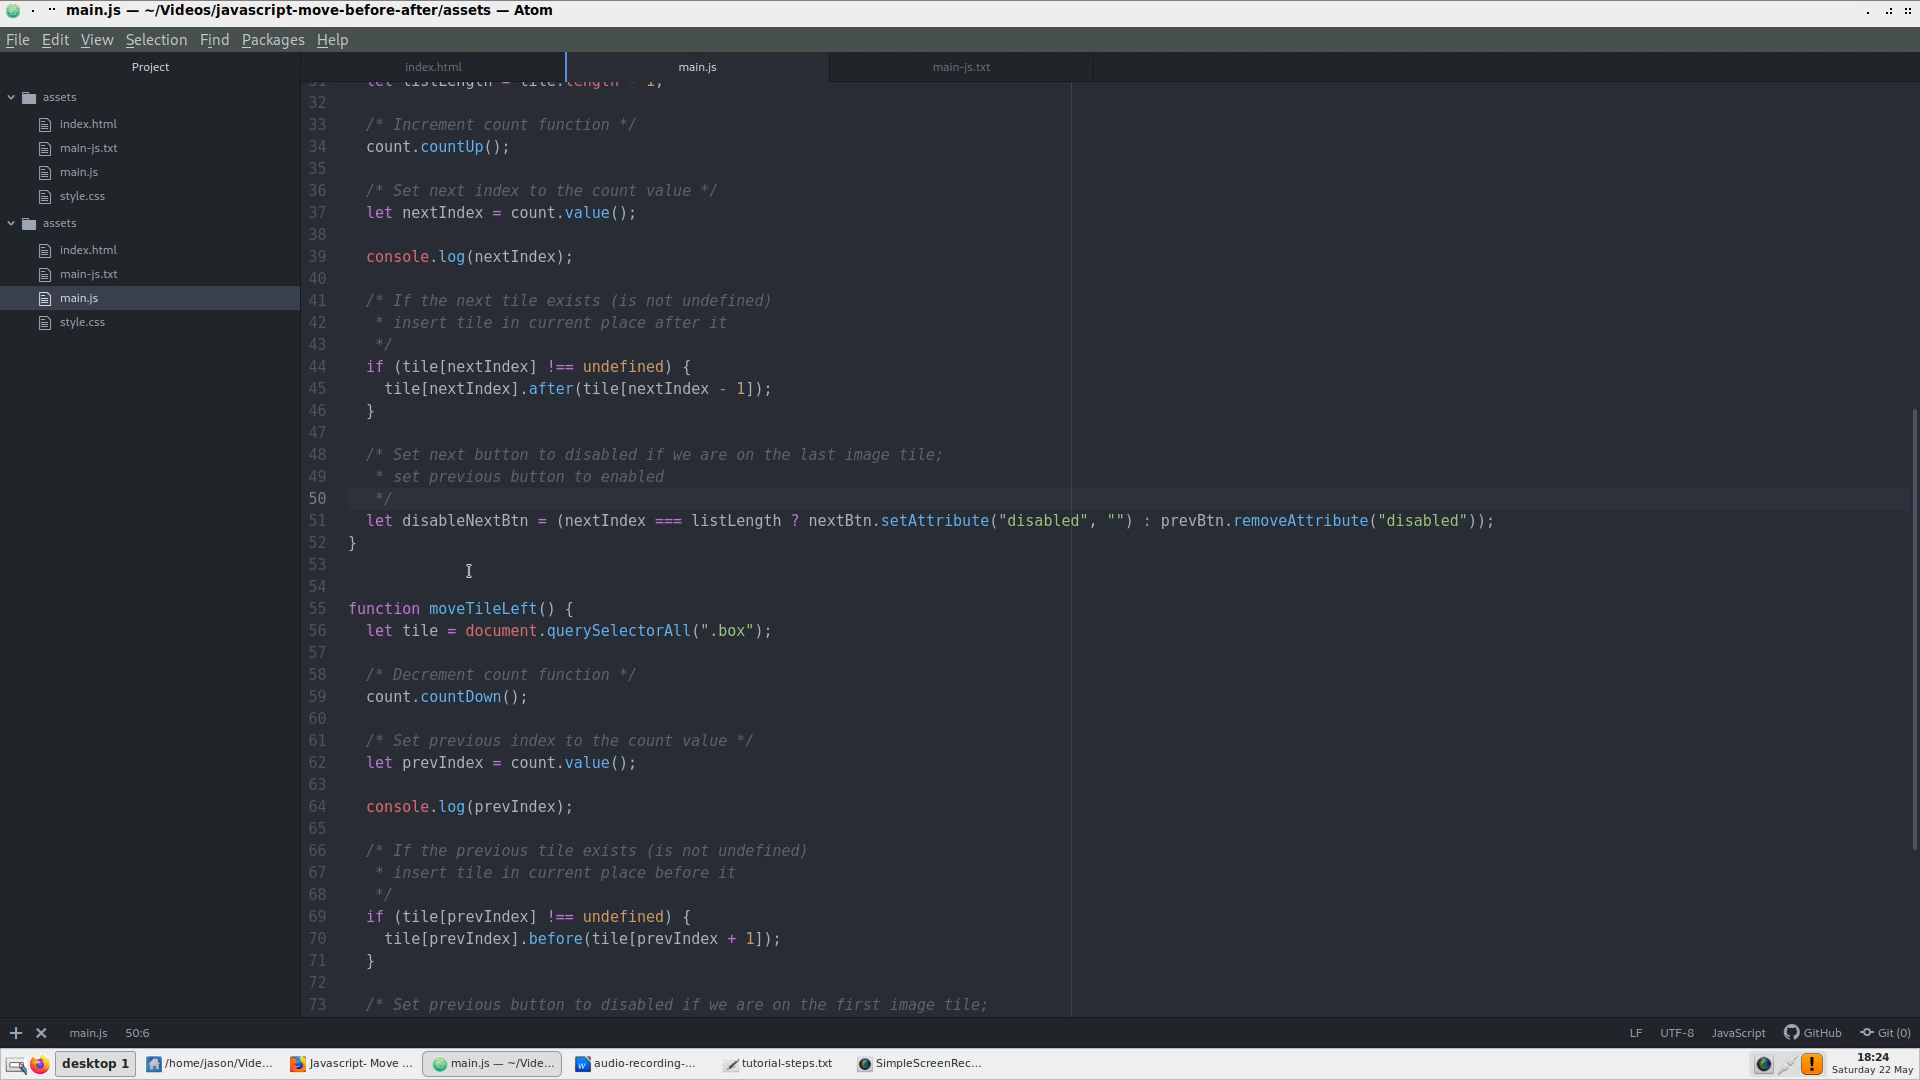
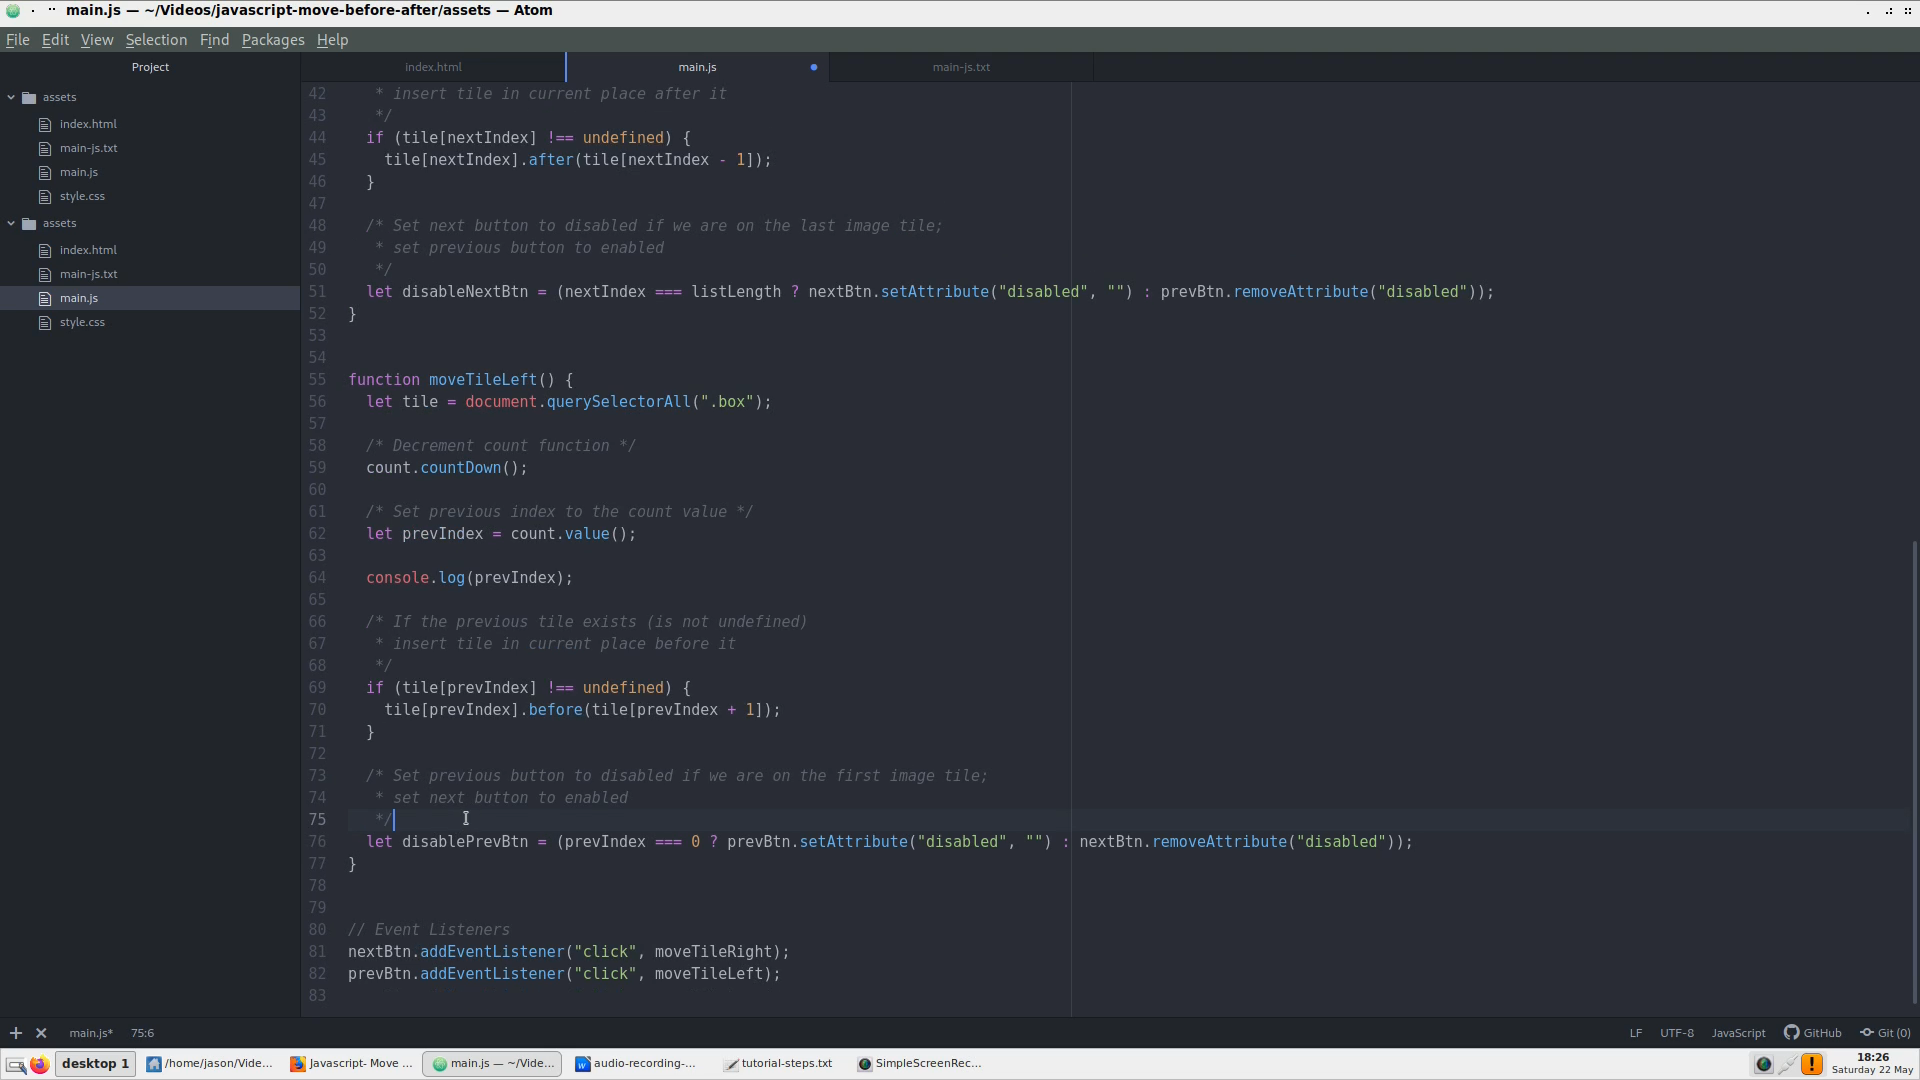
Even though these if statements are straight forward, these is a more concise way to type these. We will create ternary statements in their place in both functions.
Here, I pasted these in from main-js.txt. Let’s use the one in moveTileRight, for example.
First, we create a variable to hold the ternary condition.
Then, with everything inside parentheses, we first set the condition the if statement would check for.
That is followed by a question mark that denotes the two things we will be choosing between.
After the question mark is a block of code that gets executed if the condition is true, a colon, and the block of code that gets executed if the condition is false.
And here we have a similar ternary for the moveTileLeft function.
Putting everything all together, here is our final moving tile project.
Conclusion
To conclude, we learned several things:
- How to add and interpret a counting function
- How to integrate that counter into a nodelist, our tile elements
- How to use the JavaScript after and before functions to move elements
- How to use a ternary in place of a simple if else statement
Thank you for watching this tutorial. Links to the tutorial resources and key references are in the description.
And if you [watched the video on YouTube], don’t forget to hit the Like button and subscribe. Thank you, my viewers.
Leave a Reply