Video Tutorial- Creating an Oomox Preset Theme
Introduction
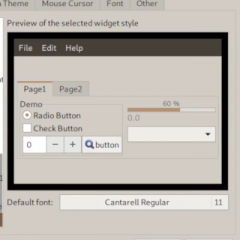
Oomox is a very popular GTK and icon theme generator that lets users create custom themes and color schemes for the desktop.This idea saves a lot of time from designing a theme from scratch. In this tutorial, we will generate an Oomox theme from one of its presets.
Step 1
- Open Oomox from your GUI or, alternatively from typing oomox-gui into a command line
- We will choose one of the preset themes from the menu on the left; in the case of this tutorial, let’s choose gnome-colors/shiki-dust
- When you make changes and Save, it saves to a new menu location. Since I previously done so, there is already a separate entry
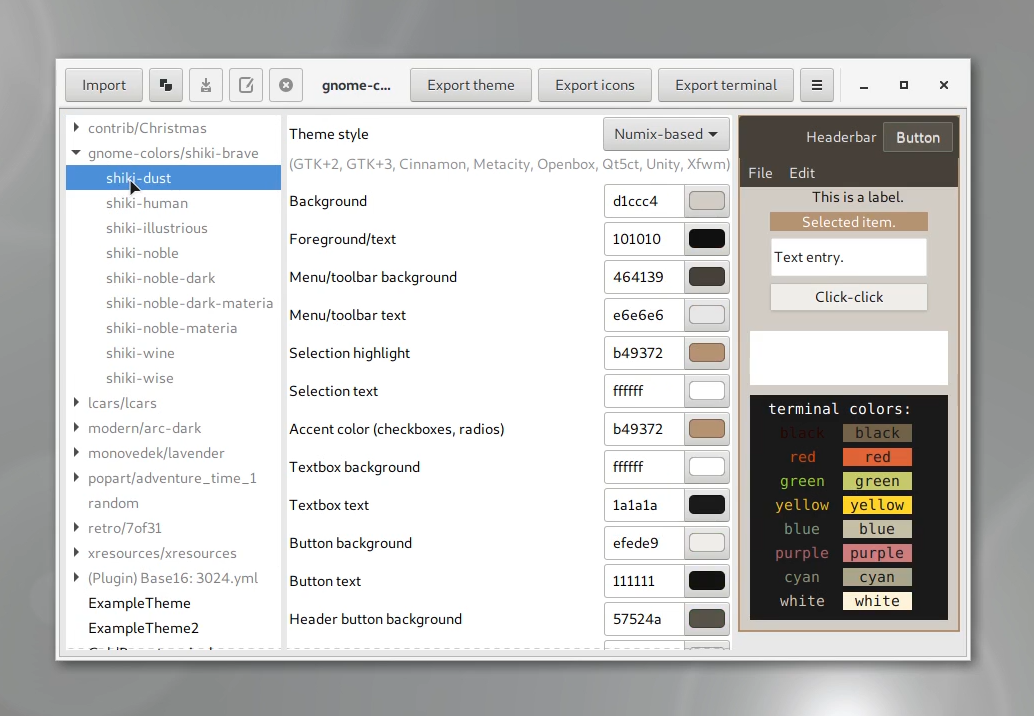
Selecting a premade theme in Oomox
Step 2
- In Oomox, notice that you can base your theme from Numix, Arc or Materia. Numix is the standard, so we will choose that here
- Let’s change the icon theme’s style to Archdroid
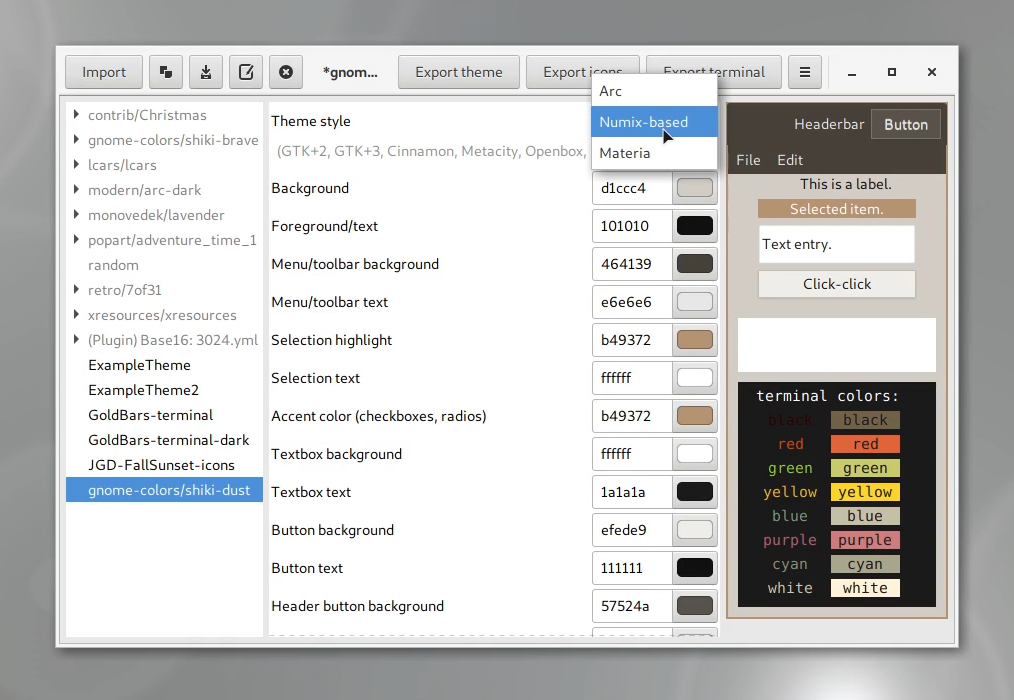
Oomox theme style selector
Archdroid icon selection
Step 3
- Save the theme in Oomox
- Export the theme
- We will also choose the option to generate a theme for the Cinnamon desktop environment
- The theme will save to your .themes folder
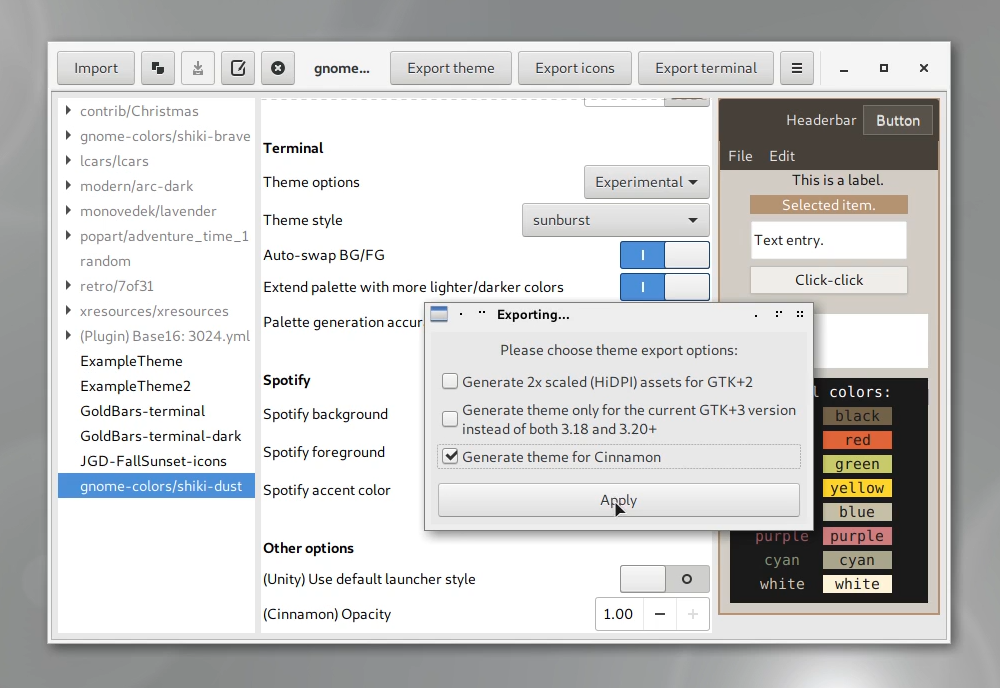
Exporting a theme in Oomox
Step 4
- Navigate to your .themes folder in a file manager. This folder might be hidden, so enable Show Hidden Files in your file manager
- In your .themes folder, you can now see an oomox-shiki-dust folder has been created
- Looking inside, you can see the number of themes that have been generated
- Open theme switcher application from your desktop. In my case, I’m using LXAppearance in Openbox
- Check that our chosen theme appears under the title oomox-shiki-dust
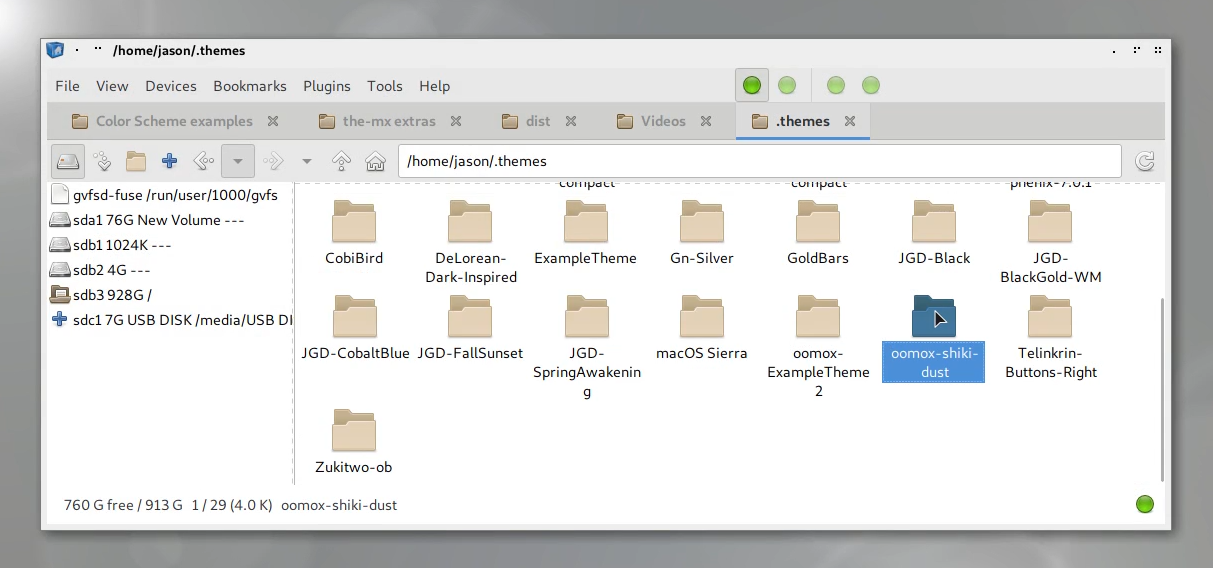
Oomox theme folder in file manager

Changing to an Oomox theme in a theme switcher
Step 5
- Optionally, if you are using Openbox, you can look for the window theme in Openbox Configuration Manager
- Clicking on the theme will change it immediately
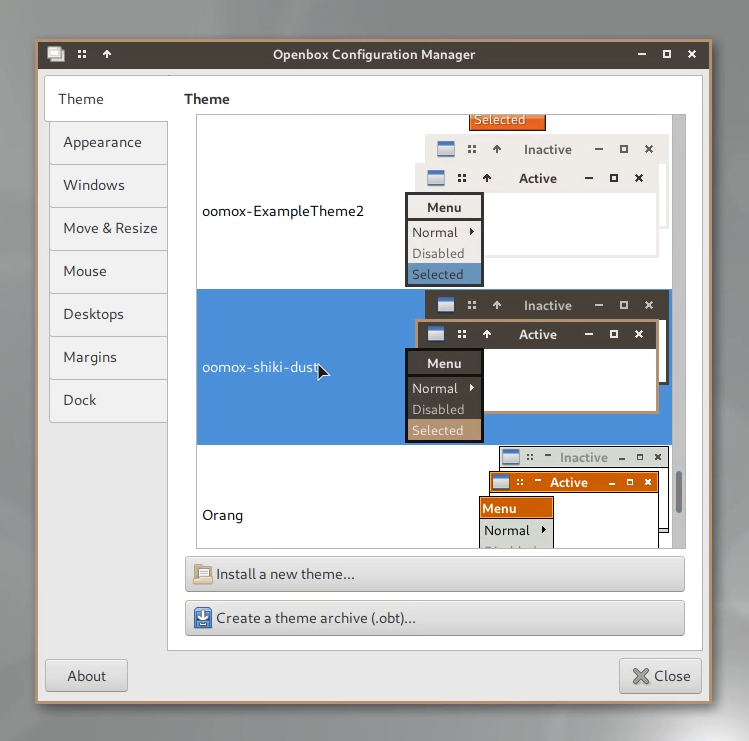
Changing an Openbox theme
Step 6
- Back in Oomox, let’s generate the icon theme
- In our theme switcher, we can preview what the icons look like under the same name as the theme
Exporting an icon theme in Oomox
Showing Oomox icons in theme switcher
Conclusion
That’s all there is to it for a great looking theme collection with very little effort. I think the Shiki Dust design is among the attractive ones I have seen in the presets. Of course, you can customize the colors or come up with an all new color scheme.
If you also watched the video, please Like and Subscribe on YouTube, as more videos will be coming soon. Thanks for following this tutorial.
Leave a Reply