My Computer Build Part 3- Completed
This is the final part in a series documenting the building of my first computer. I’ll have to admit that I messed up along the way. After placing the CPU in the socket and setting everything else up, I booted the computer up only to get the “No Signal” error. So, I tried cleaning the memory sticks, unsetting and resetting the battery, reseating the graphics card, and so on. Finally, I sent the computer system to my brother, who knows how to build computers through training.
It turns out that I had thermal paste underneath the pins on the AMD CPU. It figures, because I had to buy two processors. The first one I accidentally bent the pins on. The second one I installed correctly, but some thermal paste must have slipped around the sides under the pins. He fixed that issue and all is well.
I am now typing this from my new system running Arch Linux. In this article, I am going to list the rest of the parts I used to complete the system.
This post has affiliate links associated with my Amazon Associates account. A disclosure is on this site’s Privacy Policy page.
The Processor
I ended up getting the Phenom II x4 960t processor. The Phenom line of processors was my first choice, as they wouldn’t require a motherboard bios update. I don’t know for sure, but I think Firefox only uses software rendering. Software rendering falls on the CPU. YouTube videos in the browser run very smooth, unlike on my previous computer, where videos were choppy. In this new setup, running a YouTube video with six other tabs open uses less than 50% CPU usage, as read from Conky. Not bad.

CPU Fan
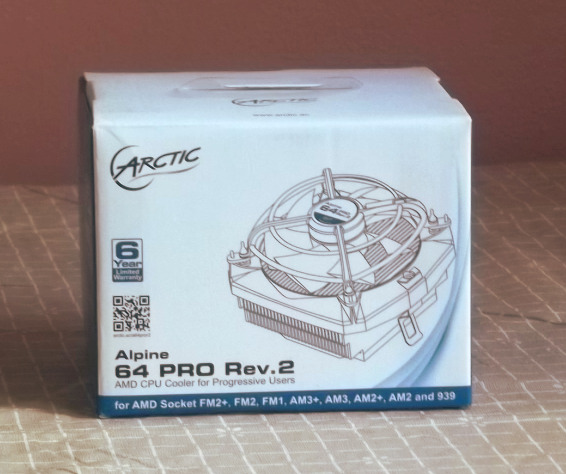 Since my CPU didn’t come with a fan, I bought the Arctic Alpine 64 Pro Rev. 2. This fan is more than adequate for the Phenom II processor. It is relatively quiet, although not silent. Just feeling alongside the back of my computer, nothing feels overly hot, indicating that this cooler works well.
The Graphics Card
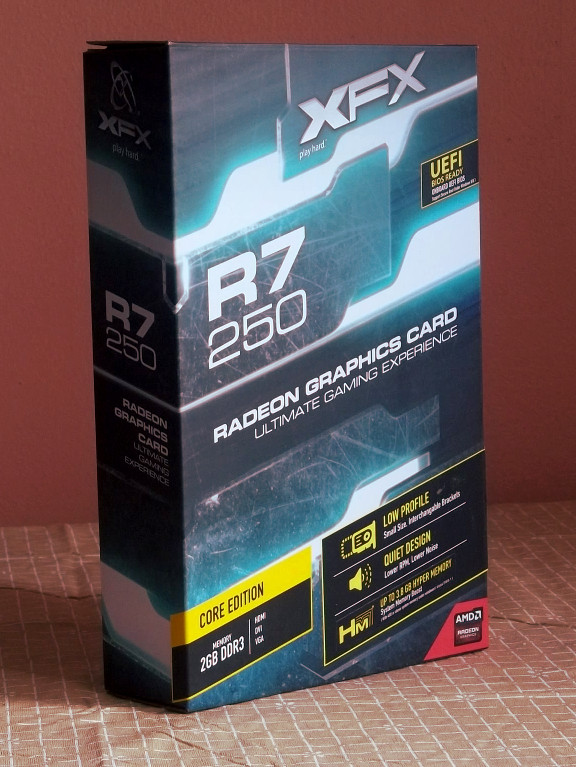 For the graphics card, I went with the XFX Radeon R7 250. Even though this is no longer considered top of the line for the newest games, you can run some games on lower detail settings. Since I for the most part don’t play video games, this is more than suitable for my desktop needs. Recently, I downloaded Compiz, a compositor and window manager that is OpenGL accelerated. Each special effect that I tried runs smoothly.
The Power Supply
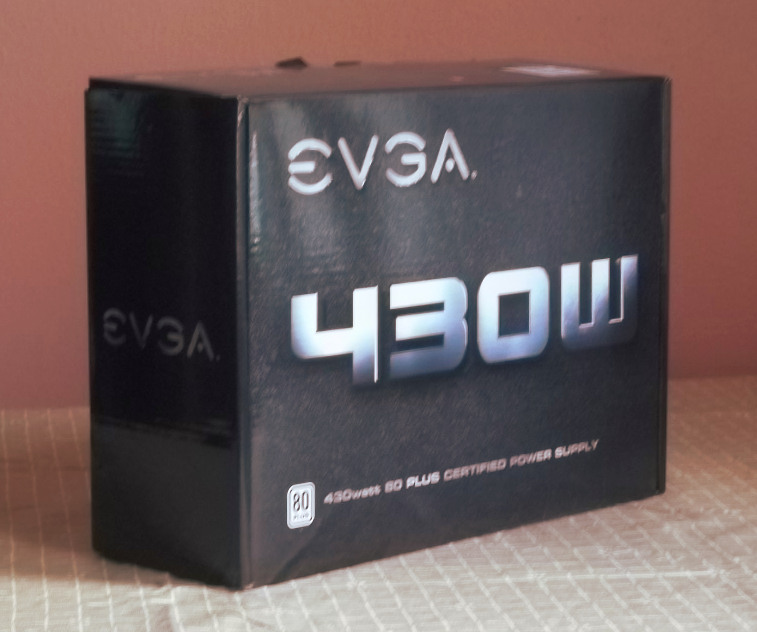 After running my setup through Outervision’s Power Supply calculator, including all of my proposed components and a second hard drive, the Recommended PSU Wattage was around 300 watts. So, a 430 watt power supply covered my needs. I must admit that when my computer wouldn’t start, I thought that too low of wattage power was the culprit. But, that wasn’t the case.
Memory (RAM)
Since this was a budget build, I bought the most affordable RAM I could find. Kingston’s ValueRAM fit the bill, as their products are of great quality.

Hard Drive
I actually didn’t purchase the main hard drive from Amazon. I bought it at Fry’s Electronics. But, I will include it here, as it is part of the build. It is the WD Blue 1 Terabyte model (WDBH2D0010HNC-NRSN). Once again, since I was on a budget, I didn’t go with a solid state drive. This was good enough for my needs.

Other Accessories
One way to check if your computer is having errors after building is to check the motherboard’s error beep codes with your computer’s internal speaker. The only problem is that my motherboard didn’t come with one. So, I purchased one (also from Fry’s). This is what my brother used to diagnose my computer’s issues. By now I forgot the exact model I bought, so I will link to a similar product on Amazon.

Wrapping it Up
This has been an adventure for me. Many times frustration entered the picture (especially when I couldn’t get the computer to boot) and I ended up needing help. But I’m still glad I took this project on. This computer allows me to be more productive than my previous Dell Dimension 2400 series. I am also very pleased with my chosen operating system, Arch Linux. The OS installation was a lot less painful than I thought it would be. Thanks for reading and all of the products mentioned here will also be in the Products section of this site soon.